✓ Written & Reviewed by Khamis Maiouf — Award-Winning Barber · 20+ Years Experience · Level 3 Qualified
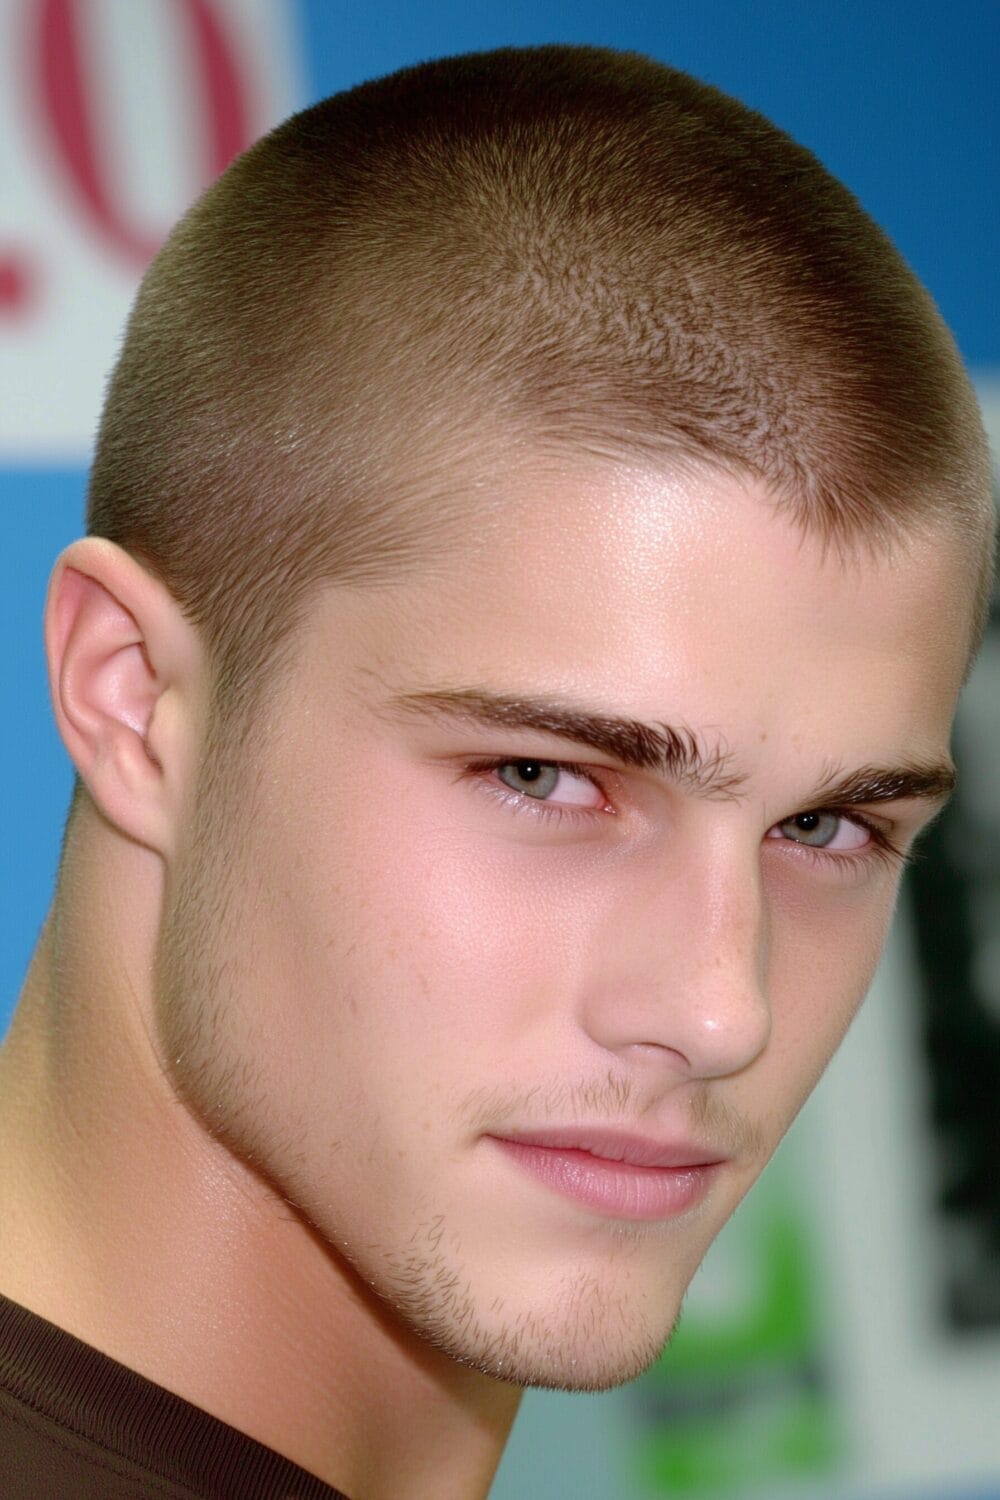
Thinning hair is the number one reason guys walk into my shop asking for a buzz cut — and it’s the smartest decision most of them make. Longer hair exposes thin spots. A buzz cut eliminates the contrast between thick and thin areas, making everything look even and intentional. I’ve been cutting hair for over 20 years, and I can tell you that the right buzz length on thinning hair looks ten times better than a longer style fighting a losing battle.
Key Takeaways
A buzz cut reduces the contrast between thick and thin areas, making thinning far less noticeable
Number 2–3 guards work best for most thinning patterns — short enough to blend, long enough to keep texture
Crown thinning responds best to a uniform buzz; temple thinning benefits from a fade to redirect the eye
A skin fade on the sides draws attention to the sharp edges, not the thinning on top
Scalp care matters more with short hair — moisturise and use SPF daily
Strategic buzz cutting means mapping your exact thinning pattern before touching the clippers. Most thinning happens in predictable zones: crown vertex, temples, and frontal hairline.
The key is identifying which areas need the most attention and planning your fade transitions accordingly.
Coverage Zone Mapping
Start by photographing your head from four angles under bright bathroom light. Mark the thinnest spots with washable marker dots for reference during cutting.
These markers help maintain consistent length transitions across problem areas where density changes rapidly.
🎯 Precision Points
Target the crown swirl point first, keeping it 1-2mm shorter than surrounding areas. The temples need graduated reduction from #3 down to #1 guard moving backward.
This creates optical density through strategic length variation rather than uniform cutting.
Thinning Pattern Assessment
Norwood scale positions determine your approach: Level 2-3 needs subtle blending, while 4-5 requires aggressive shortening. Diffuse thinning responds better to uniform short lengths than patchy loss does.
Document your pattern monthly to track progression and adjust technique.
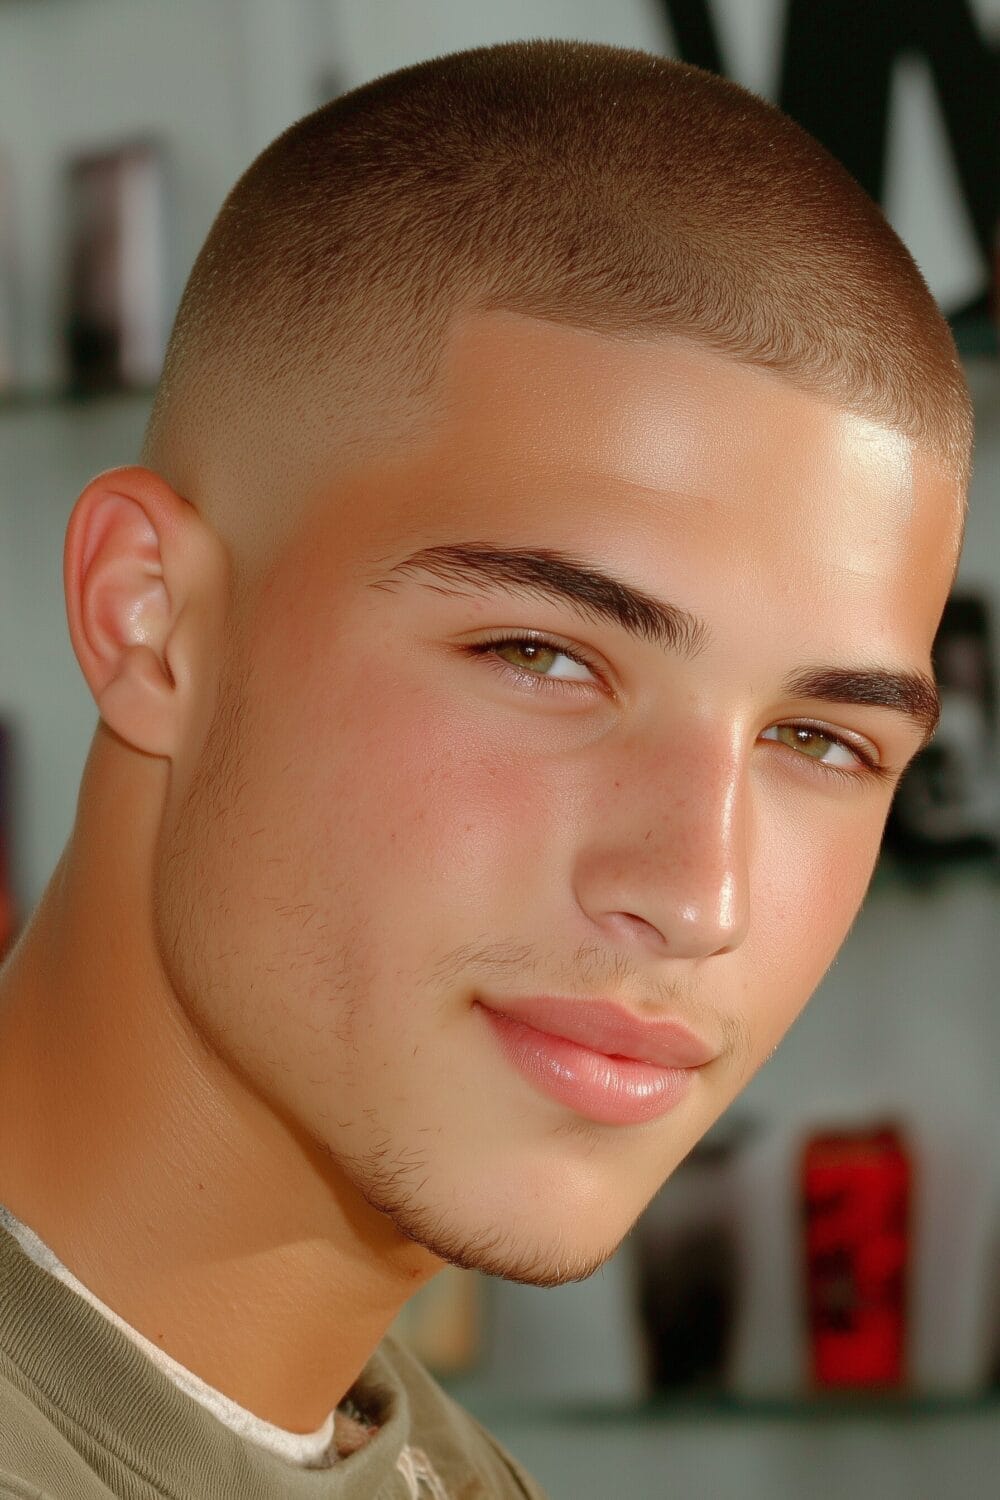
Smart Length Choices for Thinning Hair
The #2 guard (6mm) hits the sweet spot for moderate thinning, short enough to minimize contrast yet long enough to avoid scalp shine.
Severe thinning demands #1 or shorter, while early-stage loss can handle #3.
Optimal Thinning Coverage
Coverage optimization means matching guard length to hair density: thick areas get #3-4, medium density takes #2, thin spots need #1 or zero. This graduated approach creates visual uniformity across varying densities.
Test different lengths on small sections first.
Length vs Visibility Balance
Shorter lengths reduce the visibility gap between hair and scalp by minimizing shadow contrast. Going too short exposes scalp completely, while staying too long emphasizes sparse coverage.
The balance point sits where hair color barely distinguishes from skin tone.
⚠️ Common Mistake
Leaving thinning areas too long creates stringy, desperate-looking coverage that highlights the problem. This makes thinning appear worse than embracing a clean, short buzz. Cut shorter than feels comfortable initially—you’ll adjust to the look within days.
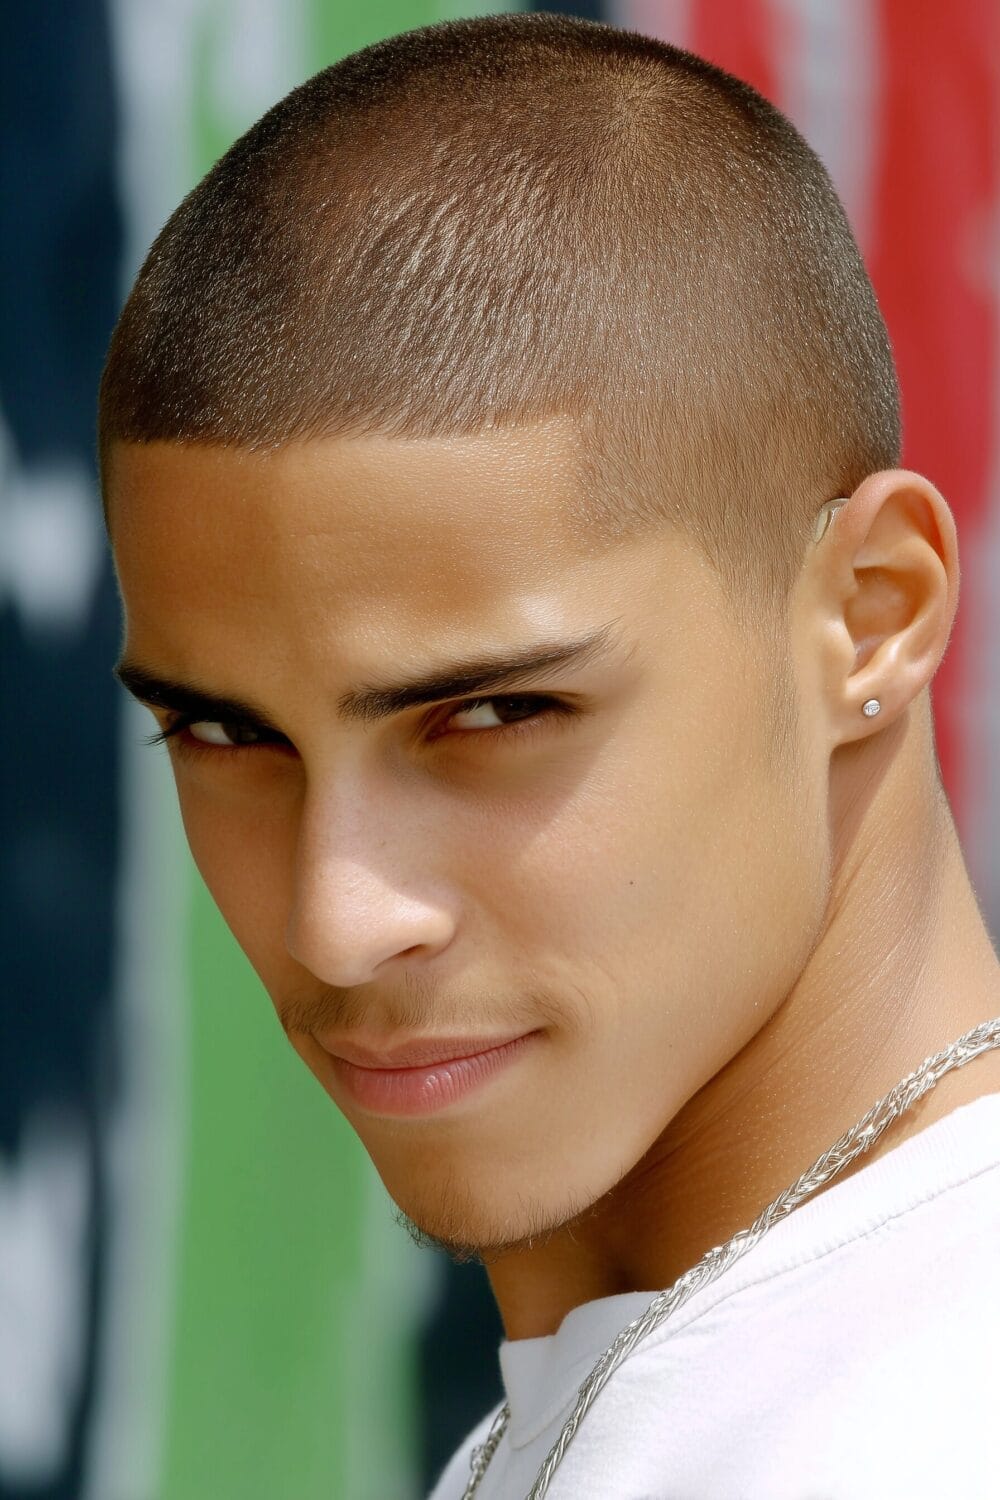
Fade Techniques for Thinning Areas
Shadow fades disguise thinning by creating intentional density variations that mask natural sparse zones. Start your fade lower than usual, bringing the shortest point up into thinning areas.
This technique works especially well for crown and temple recession.
Low fade: Best for minimal thinning, maintains coverage up top
Mid fade: Balances thinning temples with remaining density
High fade: Aggressive option for advanced thinning patterns
Skin fade eliminates contrast completely in problem zones
Shadow Fade for Coverage
Create shadow effects by leaving 0.5mm length differences between passes, building gradual transitions. This mimics natural density variation and draws eyes away from actual thinning.
Work in natural light to see true shadow effects during cutting.
Blend Point Strategy
Position blend points where natural density shifts occur, typically 1 inch above the ears for temple thinning. Crown thinning needs blending to start at the occipital bone.
These anatomical markers create predictable, repeatable results every cut.
Thinning Transition Zones
Transition zones require triple-checking with different guard angles to eliminate harsh lines. Thinning areas show lines more prominently due to reduced hair density covering mistakes.
Use overlapping strokes and multiple passes for seamless blending.
🧠 Expert Advice
Always cut thinning hair when completely dry to see true density and coverage. Wet hair clumps together, hiding sparse areas until it dries and reveals patchy results. Dry cutting shows exactly what you’re working with.
Thinning Hair Reality Check
Buzz cuts won’t restore lost hair or create density where none exists anymore. They minimize the visual impact of thinning through strategic length management.
Understanding these limitations prevents disappointment and sets realistic expectations.
What Coverage Actually Achieves
Coverage through buzz cutting reduces contrast, creates uniform appearance, and eliminates styling stress. You’re managing perception, not reversing hair loss or creating new follicles.
The goal is confidence through acceptance, not hiding reality.
Honest Thinning Limitations
Severe crown baldness won’t disappear with any cutting technique—only transplants restore actual coverage. Buzz cuts simply make thinning less noticeable by removing the comparison between thick and thin areas.
Accept what can’t change while optimizing what can.
✅ Success Indicators
Success means no visible stringy patches, consistent color tone across the scalp, and zero styling required. Friends comment on looking “cleaner” rather than asking about hair loss.
You stop checking mirrors constantly and touching thinning spots.
Crown Thinning Buzz Solutions
Crown thinningrequires the shortest lengths since this area catches overhead light most directly. Start with #1 guard at the vertex point, blending outward.
Keep surrounding areas proportionally short to avoid emphasizing the thin spot.
Crown Coverage Techniques
Work in circular motions from the crown outward, maintaining consistent pressure to avoid creating rings. The crown swirl dictates cutting direction—always follow natural growth patterns even when cutting short.
This prevents awkward stick-up sections as hair regrows.
Vertex Thinning Approach
Vertex thinning needs aggressive length reduction since this spot sits at eye level for most viewers. Take it down to 3mm or less, feathering edges into denser surrounding hair.
Check from multiple angles using hand mirrors during cutting.
🧠 Expert Advice
For crown thinning, cut against the grain in multiple directions to ensure even length. Single-direction cutting leaves longer hairs that stick up later, creating a patchy appearance. Work systematically: north-south, east-west, then diagonal passes.
Hairline Thinning Strategies
Receding hairlines benefit from deliberate shape modification rather than trying to maintain the original line. Create a new, higher hairline that looks intentional.
This psychological shift from “hiding” to “choosing” changes everything.
Receding Coverage Options
Shape recession into a defined widow’s peak or completely rounded hairline for a mature, controlled look. Avoid straight-across hairlines that emphasize temple recession by contrast.
Work with natural recession patterns rather than fighting them.
Temple Thinning Fixes
Temple recession needs graduated fading from skin to #1 guard, creating deliberate negative space. This makes recession appear like an aggressive style choice rather than hair loss.
Sharp line-ups at remaining hairline edges add intentional structure.
📏 Exact Measurements
Measure recession depth from original hairline: under 1 inch needs #2 guard, 1-2 inches takes #1, over 2 inches requires zero guard. Temple angles should stay at 90-95 degrees regardless of recession depth.
Mark these measurements before each cut.
Thinning Hair Maintenance Schedule
Thinning hair grows unevenly, requiring cuts every 10-14 days versus the standard 3-4 weeks. Sparse areas look messy faster as individual hairs become more visible.
Consistent maintenance prevents the awkward in-between phase.
Weekly touch-ups on problem zones between full cuts keeps everything looking intentional and maintained.
Not sure which style suits you best? Our Haircut Finder Quiz matches you with the right cut based on your face shape and hair type — takes 60 seconds.
Coverage Touch-Up Timing
Schedule touch-ups when hair reaches 2mm beyond cut length—about 7-10 days for average growth. Focus on the neckline and around the ears where growth shows first.
These quick sessions take five minutes but extend the clean look significantly.
Growth Management for Thinning
Thinning areasgrow slower than healthy zones, creating uneven length distribution within days. Monitor dense areas closely—they’ll need more frequent attention than thin spots.
Keep a consistent schedule regardless of how it looks.
⏱️ Growth Timeline
Week 1 stays crisp, week 2 shows slight growth, week 3 enters awkward territory. Thinning becomes more obvious around day 10 as length differences emerge.
Never extend beyond 14 days between cuts for optimal appearance.
⚠️ Common Mistake
Waiting too long between cuts because “there’s not much hair anyway” creates an unkempt, given-up appearance. Thinning hair needs more maintenance, not less, to look intentional. Set phone reminders for consistent 10-day intervals regardless of growth.
Professional vs DIY for Thinning
Professional barbers understand thinning patterns and own specialized thinning shears for seamless blending. DIY works for simple buzz cuts but struggles with complex fading.
The investment in professional cuts pays off through superior results.
When Coverage Needs Expertise
Seek professional help for initial thinning assessment, establishing baseline cut shape, and learning your specific pattern. Complex crown thinning and aggressive recession need experienced hands for optimal results.
After three professional cuts, you’ll understand your pattern enough for maintenance.
DIY Thinning Risks
Self-cutting thinning hair risks creating visible patches, uneven lengths that emphasize sparse areas, and psychological frustration from poor results. Back-of-head blind spots become especially problematic with reduced density.
Consider DIY only for simple, uniform length buzzes.
Confidence Building with Thinning
Confidence comes from taking control rather than hiding from thinning reality. The decision to buzz represents acceptance and action.
Most people respect the choice and barely notice the thinning itself.
Owning Your Coverage Choice
Own the buzz by treating it as a deliberate style rather than a forced compromise. Invest in quality clippers, maintain it religiously, and speak about it positively.
Your energy about the cut shapes how others perceive it.
Thinning Acceptance Process
Acceptance happens in stages: denial, experimentation, frustration, then finally embracing shorter lengths. Each stage takes 2-3 months as you adjust mentally to your changing appearance.
The final stage brings unexpected relief and freedom.
Complementary Treatments Alongside a Buzz Cut
A buzz cut manages the appearance of thinning hair, but it doesn’t address the underlying cause. If you’re proactively treating hair loss, a buzz cut works alongside treatments rather than replacing them.
Minoxidil (topical) is easier to apply on buzzed hair because there’s no long hair blocking the scalp. The product reaches the follicles directly, which some dermatologists consider an advantage. Finasteride (oral) works regardless of hair length.
Scalp micropigmentation (SMP) — essentially a tattoo that mimics the look of hair follicles — is specifically designed to look best at buzz cut length. The dots match the appearance of a freshly buzzed head, creating an illusion of density that looks remarkably natural. I’ve had clients combine SMP with a number 1–2 buzz and the result is genuinely impressive.
Check Your Hair Loss Risk
Wondering if what you’re seeing is normal? Get a personalised assessment in under 2 minutes.
The #2 guard (6mm) works best for moderate thinning, while severe thinning needs #1 (3mm) or shorter. The ideal length barely shows contrast between hair and scalp while maintaining some texture.
Test different guards on small sections to find your optimal length.
Will fades hide thinning completely?
Fades minimize thinning appearance but won’t completely hide advanced hair loss. They work by creating intentional density variations that make natural thinning less noticeable.
Realistic expectations prevent disappointment—fades manage perception, not create actual coverage.
How short for severe thinning?
Severe thinning (Norwood 5+) looks best with zero guard or complete skin fade. This eliminates all contrast between hair and scalp for a clean, uniform appearance.
Going this short requires confidence but delivers the cleanest results.
When to stop fighting thinning?
Stop fighting when styling takes over 10 minutes daily, you’re constantly checking mirrors, or coverage products become daily necessities. These signs indicate it’s time to embrace shorter lengths.
The relief from stopping the fight often surprises guys.
Maintenance frequency for thinning hair?
Maintain thinning buzz cuts every 10-14 days for optimal appearance. This frequency prevents awkward growth phases where thinning becomes more obvious.
Set recurring calendar reminders to maintain consistency without thinking about it.
Khamis Maiouf is a professional barber who graduated from Hinckley College in England with a Level 3 qualification in hairdressing. With over 20 years of experience, he is an award-winning barber who has mentored numerous students and styled thousands of clients. A recognised expert featured on StyleCraze (20M+ readers).
Credentials: Level 3 Hairdressing (Hinckley College, UK) • 20+ Years Professional Experience • Featured Expert on StyleCraze • Founder of Book of Barbering