
— Award-Winning Barber · 20+ Years Experience · Level 3 Qualified
Yes, I’m a barber telling you how to cut your own hair. Because I know you’re going to do it anyway — and I’d rather you do it right than show up in my chair asking me to fix a disaster. A DIY buzz cut is genuinely one of the easiest haircuts to pull off at home, but “easy” doesn’t mean “impossible to mess up.”
I’ve seen every home-cut horror story imaginable, and they all come down to the same handful of mistakes. Here’s how to avoid all of them.
Key Takeaways
Not sure which style suits you best? Our Haircut Finder Quiz matches you with the right cut based on your face shape and hair type — takes 60 seconds.
- Start with a longer guard than you think you want — you can always go shorter, never longer
- Work against the grain in smooth, overlapping passes for even coverage
- Use a handheld mirror for the back of your head — or better yet, get a friend to check your work
- Keep clippers flat against your scalp at all times — tilting creates visible lines
- Clean and oil your clippers after every use to keep the blades sharp and the cut consistent
DIY Buzz Cut Essential Setup
Creating barbershop results at home starts with assembling the right foundation. Your equipment quality directly impacts the final outcome—cheap tools create uneven, patchy results.
Professional-grade clippers with sharp blades glide smoothly through hair without pulling or snagging. Invest in adjustable guards and proper lighting to see every angle clearly during cutting.

Professional Home Equipment
Quality clippers with adjustable taper levers give you precision control over length transitions. Cordless models offer better maneuverability around your head without tangling.
Add a handheld mirror, neck duster brush, and cape to complete your setup. These tools transform amateur attempts into clean, professional-looking cuts every time.

🔧 Tool Requirements
Start with clippers rated for home use—Wahl, Andis, or Oster brands deliver consistent power. Guards from #1 through #8 cover all standard buzz lengths.
Include scissors for detail work, clipper oil for maintenance, and a spray bottle for damp cutting. These essentials prevent common DIY disasters and extend equipment life significantly.

Workspace Preparation
Position yourself in a bathroom with multiple light sources to eliminate shadows. Mount a three-way mirror or use a handheld mirror with your bathroom mirror.
Lay out newspaper or a cutting cape to catch hair, keeping cleanup simple. Clear counter space for your tools and ensure electrical outlets are within reach.
Home Buzz Cut Length Selection
Choosing your ideal length determines the entire look—too short reveals scalp imperfections, too long loses the clean buzz aesthetic. Start conservative and gradually go shorter.
Test different guards on small sections before committing to the full cut. This approach prevents irreversible mistakes that take weeks to grow out completely.

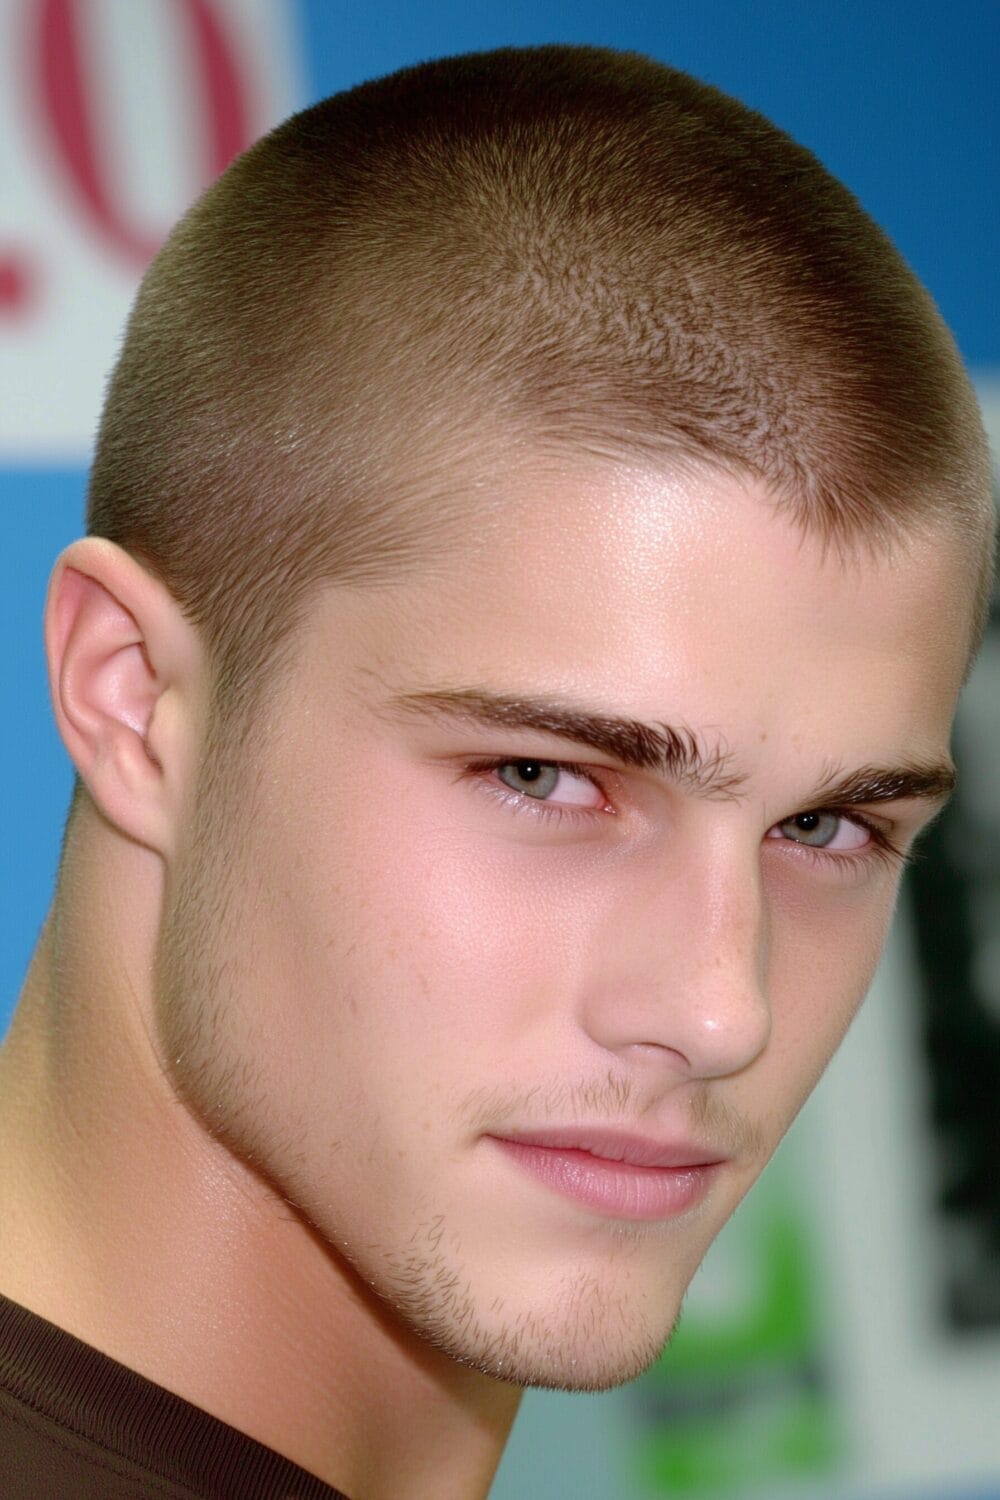
- Guard #1: Ultra-short military style, shows scalp
- Guard #2: Classic buzz, minimal scalp visibility
- Guard #3: Fuller coverage, works for most head shapes
- Guard #4: Longer buzz, easier for beginners
DIY Guard Choices
Match guard numbers to your hair density—thick hair handles shorter lengths better than thin hair. Consider your head shape when selecting length.
Round heads benefit from slightly longer tops with shorter sides. Oval faces can handle uniform lengths across the entire head without issue.

Testing Safe Lengths
Begin with a #4 guard on the back section where mistakes hide easily. Move to #3 if you want shorter, checking the look after each pass.
Never jump straight to a #1 guard without testing intermediate lengths first. This gradual approach ensures you find your perfect length without regret.

🧠 Expert Advice
Always test your chosen guard length behind your ear first—this hidden spot reveals how the length looks on your specific hair texture and density. If it looks too short there, go up one guard size before proceeding with the full cut.
DIY Buzz Cut Technique Fundamentals
Proper technique separates clean home cuts from obvious DIY attempts. Move clippers against the grain in smooth, overlapping strokes for even coverage.
Maintain consistent pressure and speed throughout each pass. Rushing or pressing too hard creates lines and uneven patches that scream amateur hour.

Proper Clipper Angles
Hold clippers flat against your head for uniform cutting—tilting creates unwanted graduation. The blade should maintain full contact during each stroke.
Adjust your wrist angle as you move around curves, especially near the crown. This flexibility ensures consistent length despite your head‘s natural contours.

Home Cutting Patterns
Start at the nape, moving upward in vertical strips toward the crown. Work systematically from back to sides, then tackle the top last.
Overlap each pass by half the clipper width to prevent missing spots. This methodical pattern guarantees complete coverage without random long patches.

⚠️ Common DIY Mistakes
Rushing through sections leaves visible lines between passes—slow down and overlap strokes properly. Changing clipper angles mid-stroke creates harsh graduation lines.
Forgetting to oil blades causes pulling and uneven cutting. Apply oil before starting and clean guards between different length changes.
⚠️ Common Mistake
Most beginners press clippers too hard against their scalp, thinking it creates a closer cut. This actually causes the blades to skip and creates uneven patches. Let the clipper weight do the work—guide it gently across your head.
Creating Even Home Buzz Cuts
Achieving uniform length requires systematic coverage and multiple checking passes. Work in sections, verifying consistency before moving to the next area.
Use your free hand to feel for longer spots while cutting. This tactile feedback catches inconsistencies your eyes might miss in the mirror.

Section-by-Section Method
Divide your head into quadrants: back left, back right, sides, and top. Complete each section fully before transitioning to avoid missing spots.
Run your hand through each finished section to detect any longer patches. Mark problem areas mentally and return with targeted passes.

DIY Overlap Techniques
Create seamless blending by overlapping each clipper pass by at least forty percent. This redundancy eliminates the striped effect common in amateur cuts.
Change your cutting direction on the second pass—vertical first, then horizontal. This cross-hatching technique catches hairs growing in different directions effectively.

Checking for Patches
Inspect your work under different lighting angles using your handheld mirror. Natural light reveals patches that bathroom lighting might hide completely.
Run your fingers against the grain feeling for inconsistent lengths. Trust your touch more than your eyes when checking for evenness.

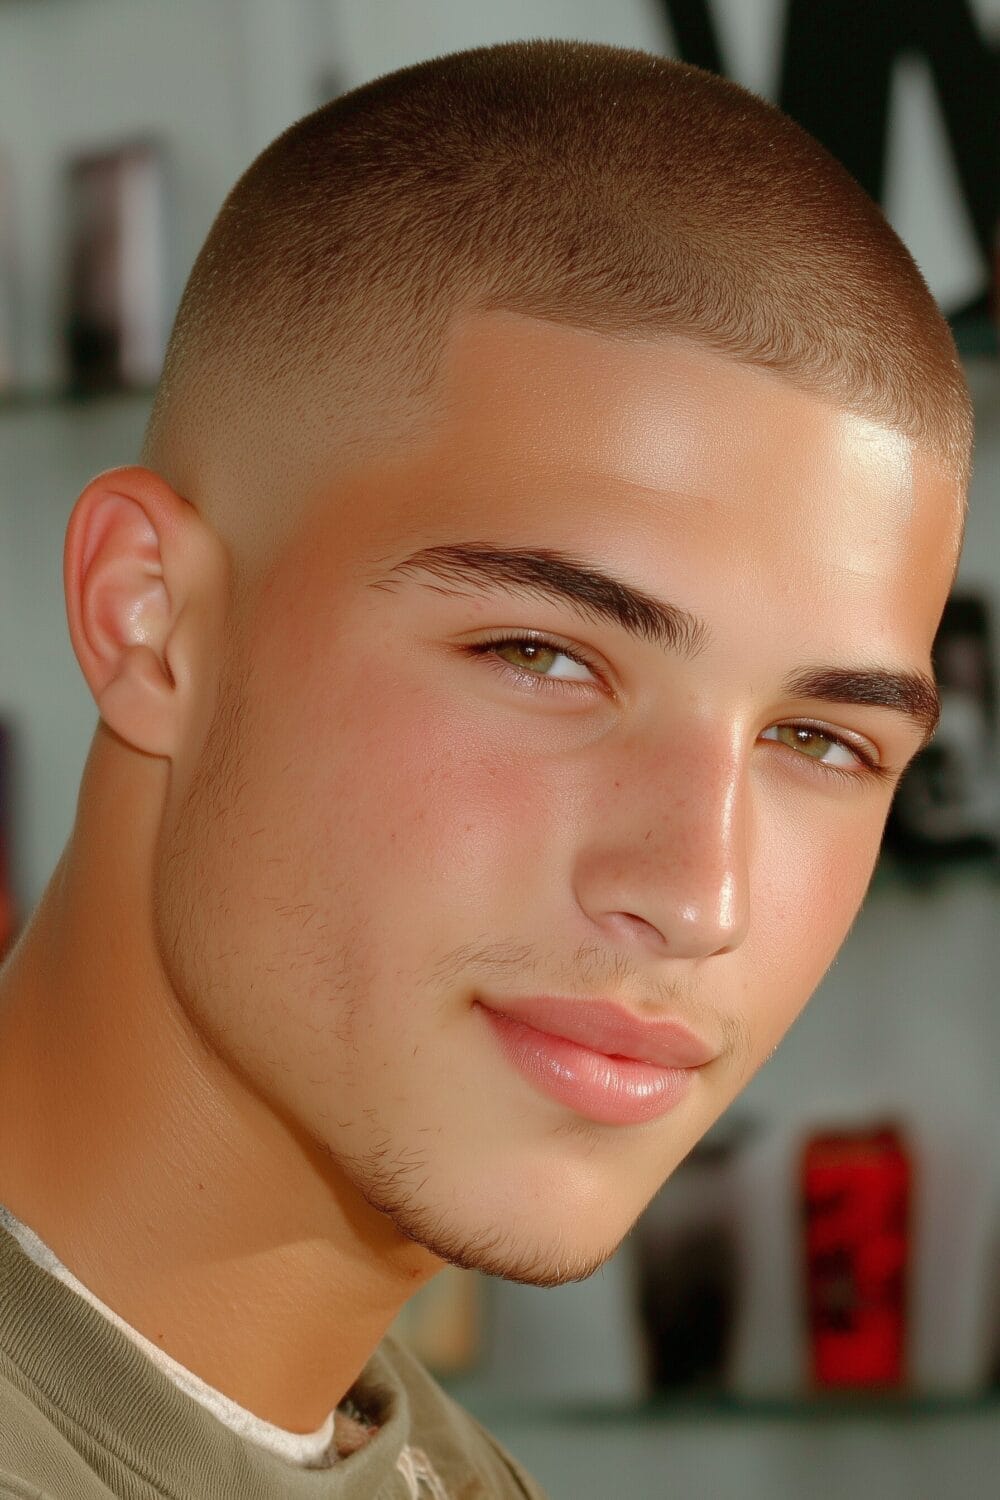
DIY Fade Integration
Adding a fade elevates your basic buzz into a professional-looking style. Start with longer guards up top, gradually decreasing length toward the neckline.
Master the lever adjustment on your clippers for smooth transitions. This tool creates the gradient effect that defines a quality fade.
Home Fade Basics
Begin with your longest desired length on top using the appropriate guard. Drop one guard size for the upper sides, creating your first transition.
Continue decreasing guards as you work downward toward the ears and neckline. Each zone should blend seamlessly into the next without visible lines.

Blending at Home
Use the clipper lever to create half-guard lengths between your main sections. These intermediate lengths smooth harsh transitions into invisible gradients.
Rock the clipper outward at transition points using a flicking motion. This technique feathers the hair, creating natural blending between different lengths.

🎯 Transition Points
Mark your fade lines before cutting—typically at the temple and occipital bone. These anatomical landmarks create balanced proportions across all head shapes.
Blend each transition zone with multiple passes at slightly different angles. This repetition ensures smooth gradients without harsh demarcation lines anywhere.

🧠 Expert Advice
Create guide points by cutting a small vertical strip at each transition height before doing full passes. These markers ensure your fade lines stay level around your entire head. Check alignment in the mirror from multiple angles before committing to the full fade.
Home Buzz Cut Neckline
A crisp neckline transforms an average home cut into professional-quality work. This detail requires patience and proper mirror positioning for accuracy.
Choose between rounded, squared, or tapered necklines based on your neck shape. Each style creates different visual effects on your overall appearance.

DIY Taper Methods
Start with a longer guard, gradually decreasing length as you approach the natural hairline. This creates a soft fade that grows out gracefully.
Use clipper-over-comb technique for ultimate control near the neckline. This method prevents accidentally cutting too high or creating uneven edges.

Mirror Positioning
Angle your handheld mirror downward while facing away from the wall mirror. This setup gives you a clear view of your entire neckline.
Adjust lighting to eliminate shadows that obscure your natural hairline. Proper visibility prevents cutting above your natural neckline accidentally.

Clean Edge Techniques
Define the neckline using clipper corners for precise edges. Work from the center outward, maintaining symmetry on both sides.
Clean up stray hairs below the line using careful downward strokes. This final detail creates the sharp definition of a professional cut.

DIY Line-Up Precision
Sharp edges around your hairline frame your face and complete the professional look. This detail work requires steady hands and careful attention.
Not sure what your face shape is? Our Face Shape Detector figures it out in 4 quick questions.
Practice your technique on less visible areas first. The skills you develop translate directly to more prominent hairline work.

Home Hairline Shaping
Use trimmer edges to create straight lines across your forehead. Work in small sections, constantly checking symmetry in the mirror.
Follow your natural hairline rather than creating artificial shapes. Subtle enhancement looks better than dramatic reshaping that appears obviously manufactured.

Temple Work
Square off temples using vertical trimmer strokes for clean angles. The corner where forehead meets temple should form a defined right angle.
Blend temple edges into your sideburn area smoothly. This connection point often reveals amateur work when executed poorly or rushed.

✅ Professional Standards
Maintain equal distance from your eyebrows to hairline on both sides. Use facial features as reference points for achieving perfect symmetry.
Step back frequently to assess overall balance and proportion. Details that look good up close might appear uneven from normal viewing distance.

Home Buzz Cut Troubleshooting
Mistakes happen even with careful technique—knowing how to fix them saves your cut. Most errors are correctable without starting completely over.
Stay calm when you spot problems and assess the damage objectively. Panic fixes often make the original mistake worse than leaving it alone.

- Uneven patches: Re-cut with the same guard angle
- Lines between passes: Blend with lever adjustments
- Too short spots: Even out surrounding areas
- Missed sections: Target with overlapping passes
Fixing DIY Mistakes
Address visible lines by running clippers perpendicular to the original direction. This cross-cutting technique breaks up harsh demarcations effectively.
Blend patches by using the lever to create intermediate lengths. Work gradually between the mistake area and surrounding hair.

Uneven Spot Solutions
Target longer patches with precise spot-cutting using the appropriate guard. Feather edges into surrounding areas using circular motions.
Match problem areas to the shortest section rather than trying to preserve length. Uniformity at a shorter length beats patchy longer hair.

Recovery Options
Consider going one guard shorter overall if mistakes are widespread. This reset creates uniformity and eliminates all problem areas simultaneously.
Wait two weeks for minor issues to blend naturally with growth. Sometimes patience beats immediate fixing attempts that could worsen the situation.

⚠️ Common Mistake
Trying to fix one bad spot often creates multiple problem areas as you chase perfection. Instead of spot-fixing endlessly, do one complete pass with a shorter guard all over. This creates uniformity and stops the cycle of creating new mistakes while fixing old ones.
DIY Maintenance Schedule
Regular upkeep keeps your buzz looking fresh between full cuts. Establish a routine that maintains your style without major time investment.
Touch up problem areas weekly rather than waiting for complete regrowth. This approach requires less effort than redoing everything from scratch.

Home Touch-Up Timing
Schedule edge work every 3-4 days to maintain crisp lines. Neckline and temples show growth first and need frequent attention.
Full length maintenance happens every 10-14 days depending on growth rate. Mark your calendar to stay consistent with your maintenance schedule.

Quick DIY Refreshes
Focus five-minute sessions on edges and visible growth areas only. These targeted touch-ups extend the time between complete cuts significantly.
Keep your clippers charged and ready for spontaneous maintenance sessions. Quick access to tools encourages regular upkeep over procrastination.

The Back of Your Head: Solving the Biggest DIY Problem
The back of your head is where 90% of DIY buzz cuts go wrong. You can’t see it, you can’t feel unevenness easily, and mirror setups are awkward. Here’s what actually works: get a three-panel mirror setup (one main, two angled sides) so you can see the back in real time. If you don’t have that, use your phone’s camera propped behind you with the screen facing a front mirror.
Go slower on the back than anywhere else, and make extra overlapping passes. The crown area (the swirl at the back) is especially tricky because hair grows in multiple directions there. Clip against the grain from at least three different angles to get it even.
Or — and this is what I honestly recommend — get someone to check the back for you. A partner, flatmate, or friend spending 30 seconds looking at the back of your head saves you from the patchy neckline that haunts most DIY buzz cuts.
Clipper Recommendations for Home Use
You don’t need professional-grade clippers for a home buzz cut, but you do need something better than a £15 Amazon special. The difference is blade sharpness and motor power. Dull blades pull hair instead of cutting it, and weak motors stall on thick hair.
A reliable home clipper in the £30–60 range from Wahl, Andis, or Remington will last years with proper maintenance. Oil the blades after every use, brush hair out of the teeth, and replace the blades when they start tugging. A good set of clippers pays for itself after two haircuts compared to barbershop prices.
Ready to Find Your Perfect Cut?
You’ve read about the styles. Now find the one that fits YOUR face shape, hair type, and lifestyle.
🎬 Summer Buzz Cut Self-Haircut Tutorial | How To Cut Your Own Hair 2022
FAQs
Best home buzz cut clippers?
Wahl Elite Pro or Andis Master deliver professional results at home-friendly prices. Both offer powerful motors that cut through thick hair without bogging down.
Look for models with multiple guard sizes and adjustable taper levers. Cordless options provide better maneuverability, though corded versions offer consistent power throughout longer sessions.

How to fix DIY buzz mistakes?
Most mistakes fix easily by going one guard shorter over the entire head. This creates uniformity and eliminates patches or lines from uneven cutting.
For minor issues, use the clipper lever to blend problem transitions. Work perpendicular to visible lines, using overlapping passes until the mistake disappears completely.
Can beginners achieve professional home results?
Absolutely—start with longer guards and simple, uniform lengths before attempting fades. Practice basic techniques on the back and sides where mistakes hide.
Watch tutorial videos specific to your head shape and hair type. Most beginners achieve solid results after 2-3 attempts following proper technique and taking their time.
Explore More Buzz Cut Guides
Was this article helpful?

Khamis Maiouf is a professional barber who graduated from Hinckley College in England with a Level 3 qualification in hairdressing. With over 20 years of experience, he is an award-winning barber who has mentored numerous students and styled thousands of clients. A recognised expert featured on StyleCraze (20M+ readers).
Credentials: Level 3 Hairdressing (Hinckley College, UK) • 20+ Years Professional Experience • Featured Expert on StyleCraze • Founder of Book of Barbering