
— Award-Winning Barber · 20+ Years Experience · Level 3 Qualified
Most guys with a widow’s peak spend years trying to hide it with longer styles that just draw more attention to it. A buzz cut does the opposite — it owns the hairline instead of fighting it. I’ve cut hundreds of widow’s peak buzz cuts, and the moment the clippers finish, the reaction is almost always the same: “why didn’t I do this sooner?” The key is picking the right guard length for your hair colour and density, because what works on dark hair doesn’t always work on fair hair.
Key Takeaways
- A buzz cut embraces the widow’s peak rather than hiding it — making it look intentional
- Guards 1–2 work best for most guys, creating a uniform look where the V-shape blends in
- Fair-haired men should consider a slightly longer guard to avoid too much scalp contrast
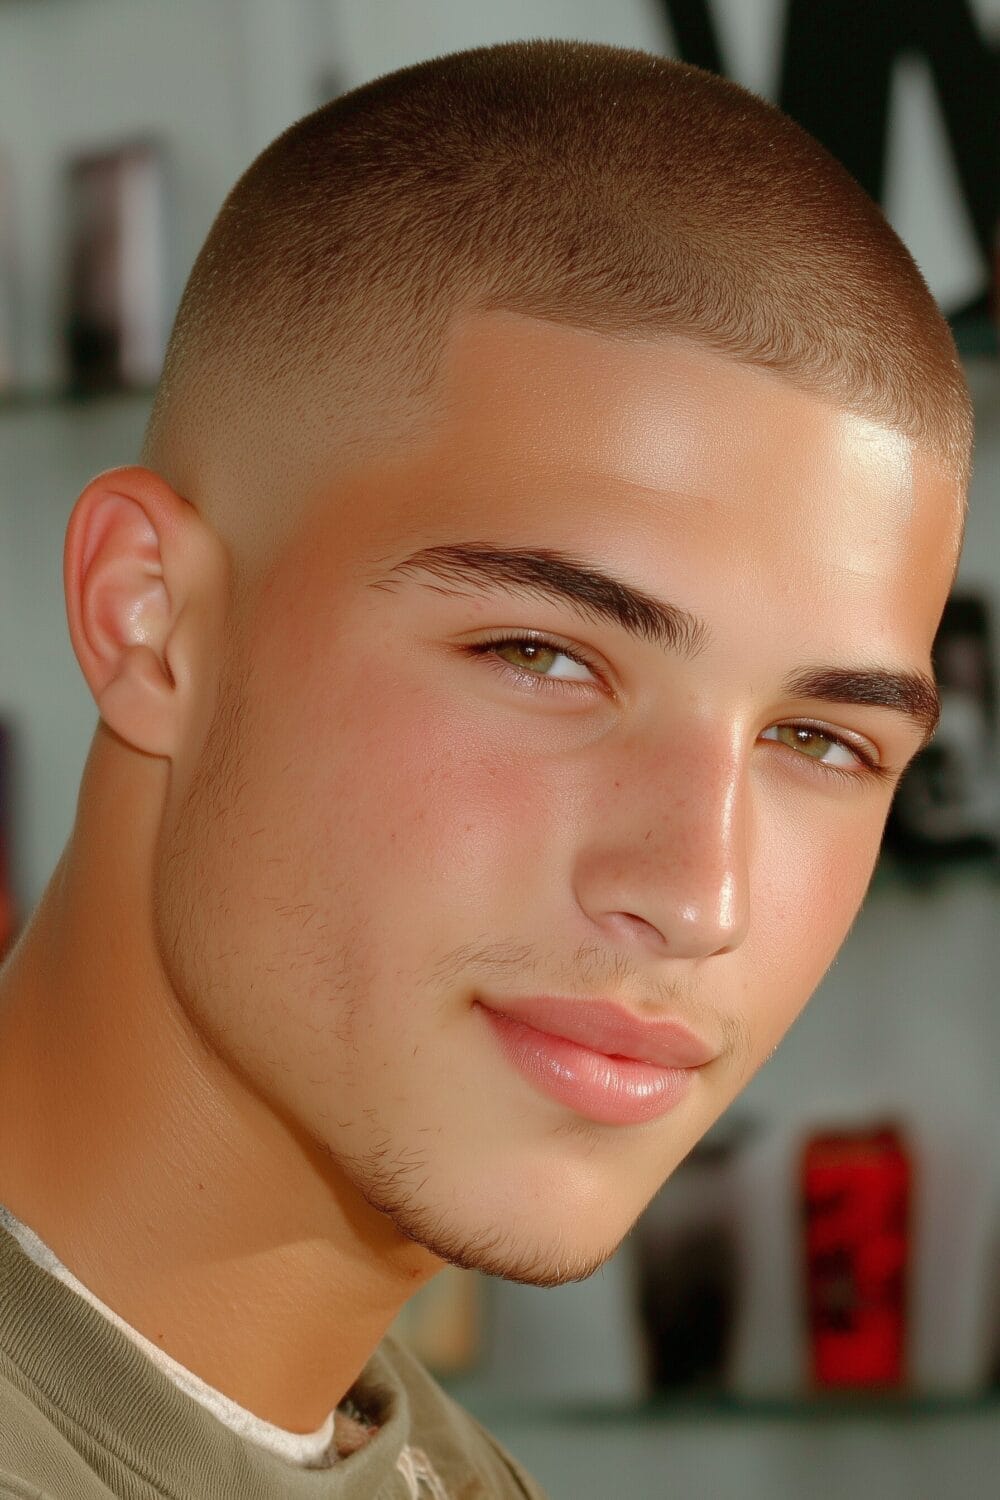
- A skin fade on the sides emphasises the natural shape of the peak as a style feature
- Dark hair at very short lengths can accentuate the peak — go slightly longer if that concerns you
Widow’s Peak Buzz Cut Fundamentals
Your widow’s peak creates a natural focal point that demands respect, not resistance. The key lies in working with its natural V-shape rather than fighting against it.
Think of your peak as the arrow pointing down your face’s center line. This natural geometry guides every clipper decision from guard selection to fade placement.

Understanding Your Peak Shape
Widow’s peaks come in three distinct formations: sharp V, soft U, and asymmetrical. Sharp Vs need gradual transitions while soft Us handle shorter lengths better.
Asymmetrical peaks require custom blending on each side to create visual balance. Map your exact peak angle before touching clippers to scalp.

📏 Measurement Points
Measure from peak tip to temple corners first. This distance determines your fade starting points and helps predict how the cut will frame your face.
Check peak depth by measuring from tip to forehead center. Deeper peaks need longer top lengths to maintain proportion.

Strategic Lengths for Widow’s Peak
Strategic length selection transforms widow’s peaks from genetic quirk to deliberate style choice. The magic happens between #2 and #4 guards where peaks maintain definition without harsh contrast.
Your peak’s prominence changes dramatically with each guard number. A #1 makes peaks scream while a #5 whispers them into subtle suggestion.

- Sharp peaks: Start with #3 or #4 guard
- Soft peaks: Work well with #2 guard
- Deep peaks: Need #4 minimum for balance
- Asymmetrical peaks benefit from varied lengths
Widow’s Peak Shadow Effect
The shadow effect uses slightly longer hair at the peak to create depth without bulk. Leave an extra half-guard length right at the V’s point.
This technique softens harsh peak lines while maintaining the distinctive shape. Works especially well for peaked hairlines showing early recession signs.

Peak Blending Zones
Create three distinct zones: peak point, transition wings, and temple connections. Each zone needs different clipper angles to achieve seamless flow from V to sides.
Blend outward from the peak’s center using semicircular motions. This prevents the dreaded “stepped” look that screams amateur hour.

🎯 Sweet Spot Lengths
Most widow’s peaks hit their sweet spot at #3 guard on top with #1.5 sides. This combo maintains peak visibility while avoiding the aggressive military look.
Adjust up or down based on peak depth and face shape. Round faces need shorter tops while longer faces benefit from extra peak length.
🧠 Expert Advice
Request a “peak-forward fade” instead of standard buzz terminology. This tells your barber you want the fade to complement your widow’s peak specifically, starting lower at temples and gradually rising toward the peak’s wings for natural flow.
Widow’s Peak Buzz Fade Techniques
Fading around a widow’s peak requires reverse-engineering traditional techniques. Start your fade lower at the peak and higher at the temples.
This inverted approach follows your hairline’s natural V-shape. Standard horizontal fades clash with peaked geometry, creating visual tension.
Temple Fade for Peaks
Begin temple fades one inch below the peak’s lowest point. This creates breathing room for the V-shape to shine without competing fade lines.
Angle your clippers diagonally from temples toward the peak wings. Straight horizontal passes destroy the natural flow peaked hairlines need.

Peak Transition Points
Identify three critical transition points: where peak meets temple, peak tip, and center forehead. Each point needs different blending pressure to maintain smooth gradients.
The peak-to-temple junction requires the gentlest touch. Heavy-handed blending here erases your hairline’s character.

✅ Blend Verification
Check your blend by running fingers from peak to temples. Any bumps or ridges indicate incomplete blending that needs immediate attention.
Use natural light or phone flashlight at multiple angles. Shadows reveal blend imperfections that overhead lighting hides.

⚠️ Common Mistake
Fading straight across the forehead ignores your widow’s peak completely, creating a harsh horizontal line that fights your natural V-shape. Instead, follow the peak’s angle with your fade, curving the blend line to complement rather than contradict your hairline’s geometry.
Working With Peak Recession
Widow’s peaks naturally evolve with age, often becoming more pronounced as surrounding areas recede. Smart length adjustments keep you looking intentional, not desperate.
The trick is embracing the change rather than hiding it. Strategic buzz cuts make recession look like a style choice.

Early Widow’s Peak Changes
Early recession typically deepens your peak while maintaining its shape. Combat this by keeping slightly more length at recession points to create optical fullness.
Avoid going too short at first signs of change. A #3 or #4 guard maintains coverage while acknowledging reality.

Mature Peak Adjustments
Mature peaks benefit from shorter, more uniform lengths that minimize contrast between thick and thin areas. Consider dropping to #2 guard for cleaner appearance.
Focus on crisp lines rather than coverage. Sharp edges distract from density changes better than attempted concealment.

⚠️ Common Mistake
Growing out receding peaks to hide thinning only highlights the problem through stringy, uneven coverage. Embrace shorter lengths that create uniform density—a clean #2 buzz looks intentional while longer, thinning hair screams insecurity about natural changes.
Widow’s Peak Buzz Maintenance
Widow’s peak buzz cuts grow out differently than standard buzzes. The V-shape becomes exaggerated as hair lengthens, requiring strategic maintenance timing.
Peak regrowth shows first at the point, creating a pronounced triangle effect. Stay ahead with consistent trimming schedules.

Peak Regrowth Patterns
Your peak grows faster than surrounding areas due to concentrated follicle density. This creates an increasingly dramatic V-shape between cuts that some love, others hate.
Monitor the peak-to-temple ratio weekly. When peaks extend beyond half-inch difference, it’s trim time.

Four-Week Peak Schedule
Week one brings subtle definition changes. Week two shows noticeable peak prominence.
Week three pushes style limits. Week four demands immediate attention.
Not sure what your face shape is? Our Face Shape Detector figures it out in 4 quick questions.
Most peaked buzz cuts need refreshing every 2-3 weeks. Faster-growing hair might require weekly touch-ups at the peak point only.

🧠 Expert Advice
Invest in adjustable clippers for peak-only touch-ups between full cuts. Trim just the V-point every 10 days using your original guard length, maintaining the silhouette without committing to complete buzz sessions that risk overcutting.
Celebrity Widow’s Peak Buzz Examples
Hollywood’s peaked hairlines provide perfect buzz cut blueprints. These A-listers turned genetic traits into signature styles through strategic length choices.
Study their approaches to find your peaked inspiration. Each method suits different peak depths and face shapes.

Leonardo DiCaprio Method
DiCaprio keeps his widow’s peak subtle with #4 guard length that barely hints at the V-shape. His approach works for mild peaks seeking understated sophistication.
The key is maintaining uniform length across the entire scalp. No fades or variations—just clean, consistent coverage.
Jude Law Approach
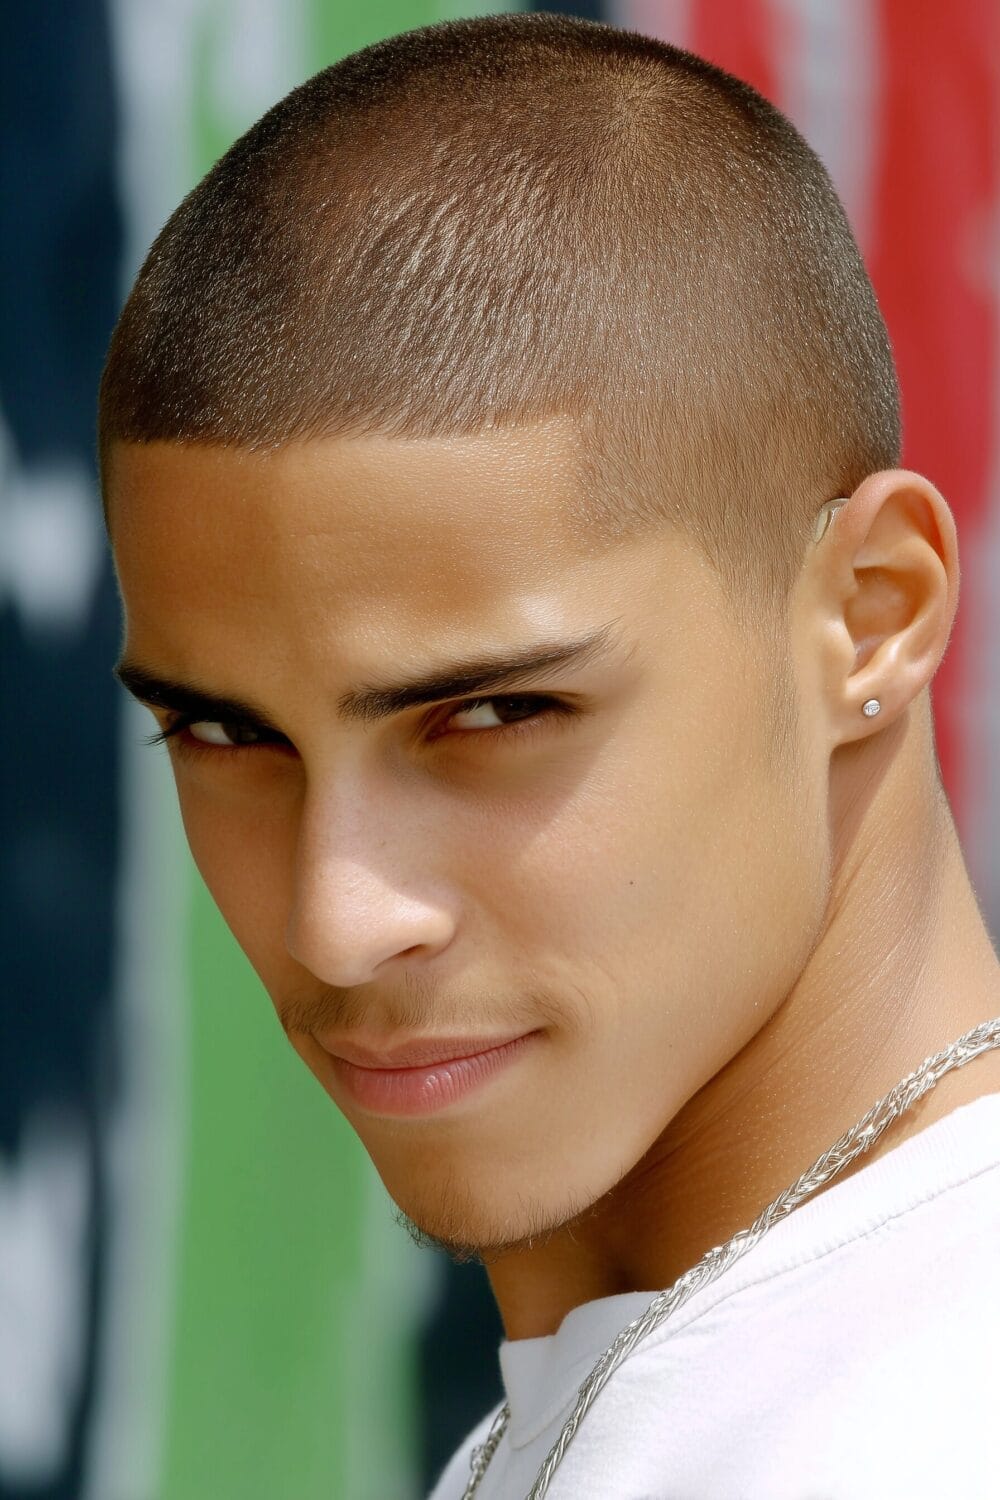
Law embraces his pronounced peak with shorter #2 lengths that highlight rather than hide. His confidence sells what others might consider a flaw.
This method requires commitment to the look. Half-measures make pronounced peaks look accidental rather than intentional.

Barber Communication for Widow’s Peak
Clear barber communication prevents widow’s peak disasters. Most barbers default to standard techniques unless you explicitly request peak-specific attention.
Bring multiple angle photos showing your ideal peaked buzz cut. Words fail where pictures succeed.

Explaining Peak Goals
Tell your barber whether you want to emphasize or minimize your peak. Use terms like “work with my natural V-shape” or “blend to reduce peak prominence.”
Specify fade starting points relative to your peak. This prevents standard temple fades that ignore your hairline’s geometry.

Reference Photos That Work
Show photos of similar peak shapes, not just haircuts you like. A standard buzz on a straight hairline won’t translate to your peaked geometry.
Include front, side, and three-quarter angles. Your peak looks different from each position and needs consideration from all views.
How Hair Texture Affects a Widow’s Peak Buzz Cut
The visibility of your widow’s peak at buzz length depends heavily on your hair texture — and this is something I factor into every cut.
Straight hair exposes the peak most clearly because the hair lies flat and follows the natural hairline precisely. If you have straight hair and want to minimise the peak, go shorter (number 1–2) so the overall uniformity reduces the V-shape contrast. Curly and wavy hair naturally softens the peak because the texture disrupts the clean hairline.
Guys with type 3–4 curls can go longer (number 3–4) and the peak practically disappears into the texture. This is one of the rare situations where curly hair at a buzz length is actually easier to manage than straight.
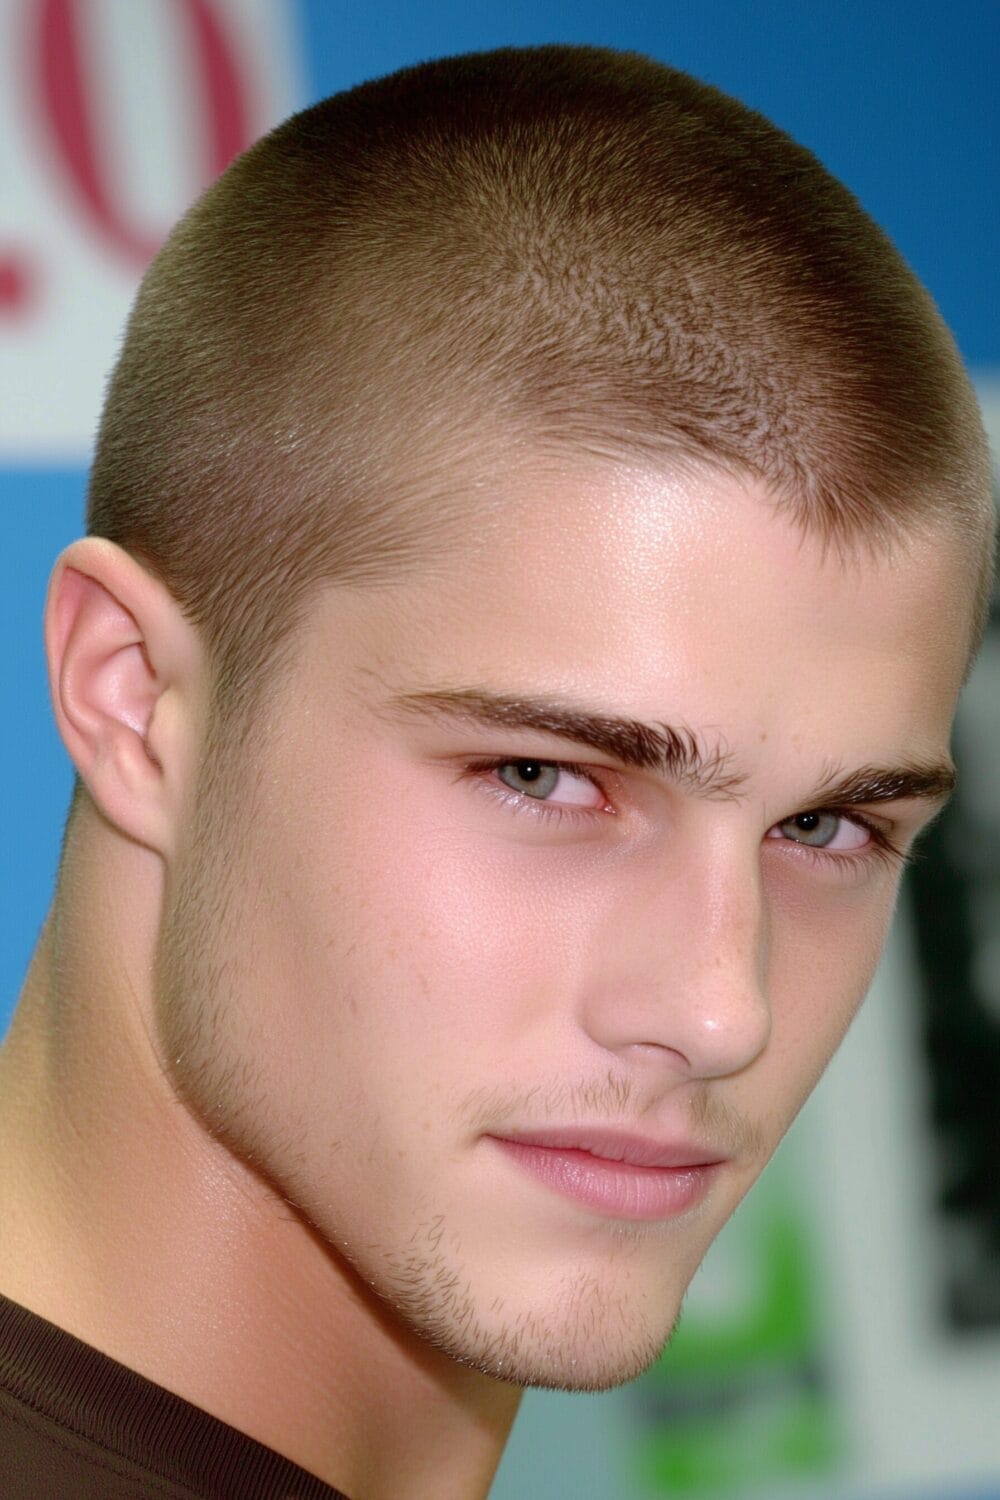
Hair colour matters too: dark hair on light skin makes the widow’s peak more visible because the contrast is higher. Fair-haired guys often don’t even notice their peak at buzz length because it blends with the scalp.
Ready to Find Your Perfect Cut?
You’ve read about the styles. Now find the one that fits YOUR face shape, hair type, and lifestyle.
FAQs
Best buzz length for widow’s peak?
Start with #3 guard for most widow’s peaks—long enough to avoid harsh lines but short enough for clean appearance. Sharp V-peaks handle #2, while soft U-shaped peaks look better with #4.
Adjust based on peak depth and personal preference. Deeper peaks need longer lengths for proportion.

Should I embrace or hide widow’s peak?
Embrace it through strategic styling rather than fighting genetics. Modern buzz cuts that work with your peak’s natural shape look infinitely better than attempts at concealment.
Hiding attempts usually backfire by drawing more attention. Confident ownership makes any hairline work.
How often to trim widow’s peak buzz?
Trim every 2-3 weeks to maintain the silhouette, or weekly peak touch-ups if you prefer consistent sharpness. Peaked hairlines show growth faster than straight hairlines.
Set phone reminders for consistent scheduling. Irregular maintenance makes peaks look accidentally overgrown rather than deliberately styled.
Explore More Buzz Cut Guides
Was this article helpful?

Khamis Maiouf is a professional barber who graduated from Hinckley College in England with a Level 3 qualification in hairdressing. With over 20 years of experience, he is an award-winning barber who has mentored numerous students and styled thousands of clients. A recognised expert featured on StyleCraze (20M+ readers).
Credentials: Level 3 Hairdressing (Hinckley College, UK) • 20+ Years Professional Experience • Featured Expert on StyleCraze • Founder of Book of Barbering