
Most guys who ask me “which side should I part my hair?” have been fighting their hair every morning for years. The answer is usually hiding in plain sight — your cowlick direction and face shape already point to your ideal part. This guide covers three proven tests to find yours, plus how to create a clean part line and train your hair to hold it.
Key Takeaways
- Your cowlick direction is the fastest way to find your natural part — clockwise spirals favor a left part, counter-clockwise favor the right
- Face shape fine-tunes placement: deep side parts add angles for round faces, while center parts add width for rectangular faces
- The wet hair test confirms your natural part — let freshly washed hair fall freely and note where it separates
- You can retrain your hair to a new part direction in 2–3 weeks with consistent daily styling and overnight setting
- The “hair part theory” (left = masculine) has been debunked by research — follow your natural growth, not internet myths
Understanding Hair Part Direction
Your hair’s natural growth pattern determines how easily you can maintain different part styles.
Every man’s hair grows in unique directional patterns, typically spiraling from one or two crown points called cowlicks. These growth patterns, combined with your face shape, create the foundation for choosing your optimal part side. Understanding these factors prevents daily styling battles.
Face shape plays an equally important role in part selection. A well-placed part can balance prominent features, add width where needed, or create the illusion of length. The key lies in working with your natural attributes rather than against them.
Let’s discover your hair’s natural tendencies to make informed styling decisions.
Determining Your Natural Part

Finding your natural part saves time and ensures better hold throughout the day.
Finding Your Cowlick

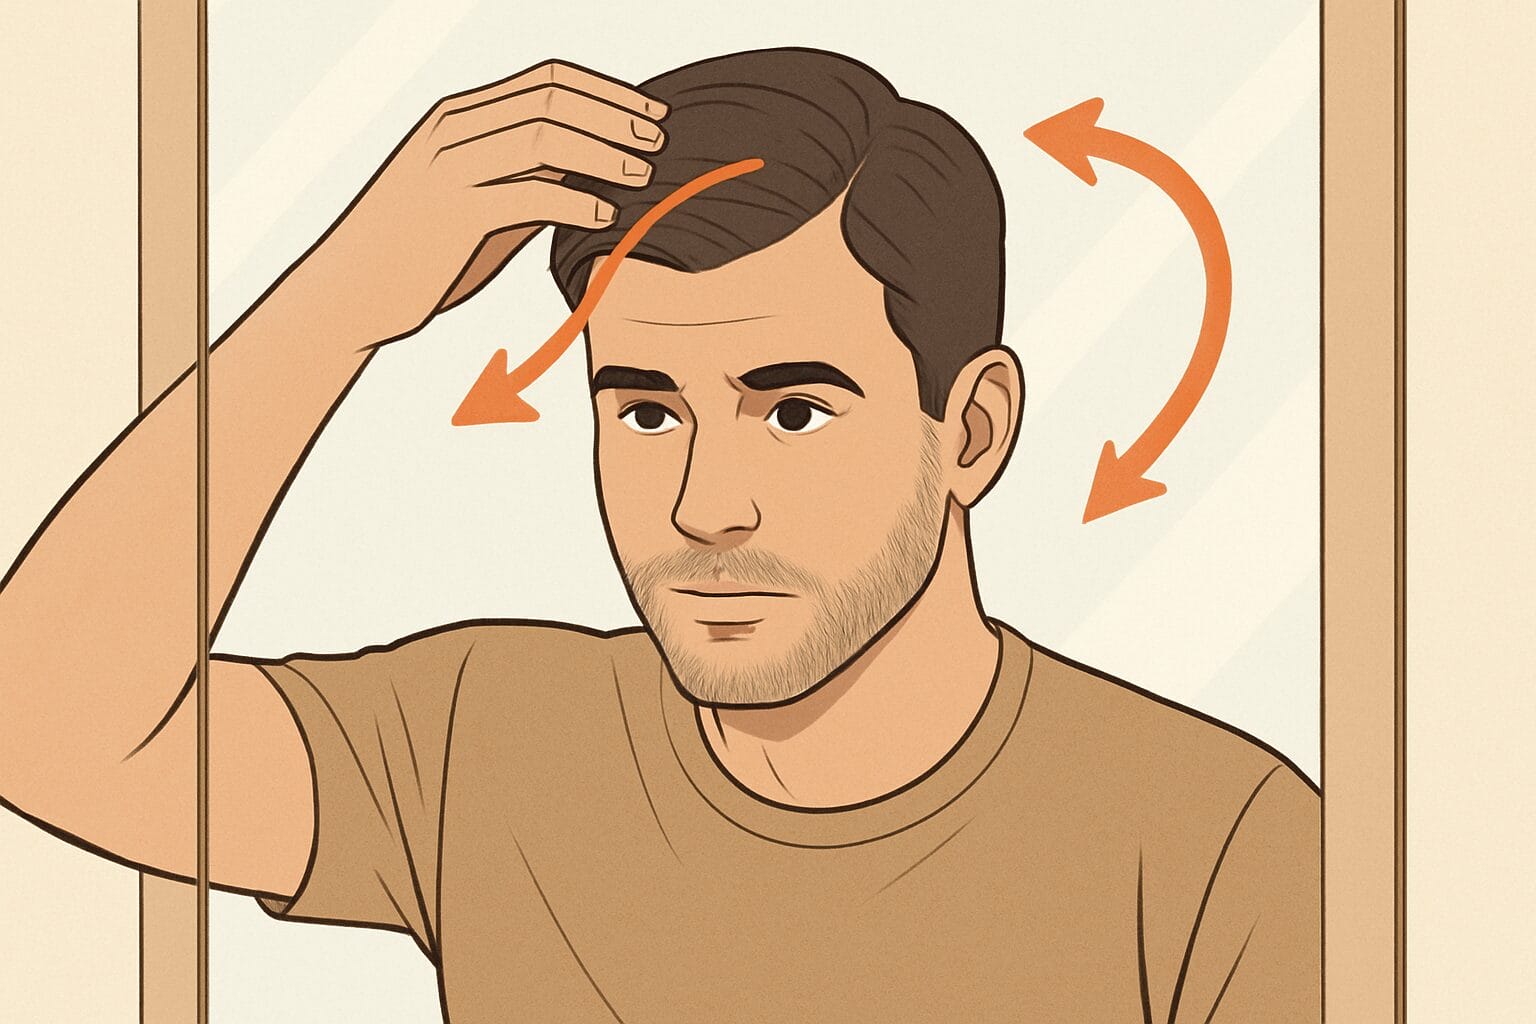
Your cowlick sits at the crown where hair grows in a circular pattern. Run your fingers through dry hair from front to back, feeling for the spiral point where hair resists lying flat.
Most men have clockwise cowlicks, meaning hair naturally parts on the left side. Counter-clockwise cowlicks favor right-side parts. Some have double crowns, offering flexibility in part placement but requiring stronger styling products.
The Wet Hair Test

After shampooing, comb your hair straight back without forcing a direction. Let it fall naturally as you shake your head gently. The line where hair separates reveals your natural part location.
This test works best with medium to long hair (2+ inches). Short hair may not show clear separation, so combine this method with cowlick identification for accurate results. Repeat the test several times for consistency.
Understanding face shapes helps refine your part placement for maximum visual impact.
Face Shape and Part Side Selection

Strategic part placement enhances your best features while minimizing less favorable ones.
Oval and Round Faces

Oval faces suit any part side, but a deep side part adds sophistication and angles. Position your part 1-2 inches from center, using a #3 guard (10mm) or longer on top for volume.
Round faces benefit from height and asymmetry. Create your part higher on the head, sweeping hair up and over. This elongates your face visually, especially with 3-4 inches of length on top.
Square and Rectangular Faces

Square faces need softening through diagonal lines. Part your hair at a slight angle rather than straight back, starting narrow at the front and widening toward the crown.
Rectangular faces require width and volume on sides. Keep your part closer to center (within 1 inch) and maintain fuller sides with a #4 guard (13mm) or longer. Avoid high, tight fades that emphasize length.
Heart and Diamond Faces

Heart-shaped faces look best with side parts that add width at the jawline. Sweep hair diagonally across, keeping volume moderate on top. Use texturizing products for movement without excessive height.
Diamond faces benefit from central or slightly off-center parts. This balances narrow forehead and chin areas while showcasing strong cheekbones. Maintain 2-3 inches on top with gradual taper on sides.
Now let’s create that perfect part line with professional precision.
Creating the Perfect Part

A clean, defined part elevates any hairstyle from amateur to professional.
Tools You’ll Need

Start with a rattail comb for precision – the pointed end creates sharp lines while teeth distribute product evenly. Add a handheld mirror for checking angles and medium-hold pomade or clay for definition.
Quality matters with tools. Invest in a carbon fiber rattail comb ($15-25) that won’t snag hair. Keep styling products minimal – a dime-size amount of matte clay or quarter-size of mousse provides sufficient hold without weighing hair down.
💡 Pro Tip
Create your part when hair is 80% dry for the sharpest lines. Fully wet hair won’t hold the part shape, while completely dry hair resists new directions.
After towel drying, use a blow dryer on medium heat for 30 seconds, then part immediately with your rattail comb. This timing gives you perfect malleability with enough moisture for precise styling.
Consistency in your daily routine transforms temporary styling into permanent results.
Training Your Hair Part

Changing your part direction requires patience and proper technique over 2-3 weeks.
Daily Styling Routine

Morning consistency retrains growth patterns effectively. After showering, comb hair in the new part direction while damp. Apply pre-styler from roots to ends, then blow dry using a round brush to reinforce direction.
Evening maintenance accelerates training. Before bed, dampen your part line with water, comb into place, and secure with a soft headband or du-rag for 30 minutes. This overnight positioning helps hair follicles adjust to the new growth angle.
⚠️ Common Mistake
Fighting against strong cowlicks causes poor hold and requires excessive product that weighs hair down. If your cowlick strongly resists after two weeks of training, work with it instead.
Position your part slightly off the cowlick center, using its natural spiral to add volume and movement. I’ve seen clients waste months battling cowlicks when a small adjustment would have given them effortless, all-day hold.
Different part styles suit various occasions and personal preferences.
Left vs Right: The Hair Part Theory
You’ve probably heard that parting on the left makes you look more masculine and competent, while a right part appears softer and more approachable. This idea — called the “hair part theory” — went viral online and even references cultural icons like Don Draper’s signature left part.
Here’s the truth from someone who’s styled thousands of parts: research from the Society for Personality and Social Psychology found virtually no difference in how people perceive left versus right parts. The odds that hair parts don’t matter for perception were 25 times higher than the popular belief. I’ve had clients overthink this for months when their cowlick was telling them the answer all along.
What actually matters is working with your natural growth direction. A part that follows your cowlick holds better, requires less product, and looks more natural than one chosen based on an internet theory. If your hair naturally falls left, part left. If it falls right, part right. The confidence that comes from effortless styling does more for your appearance than which side the part lands on.
Style Variations by Part Side

Your chosen part side opens up specific styling options for different looks.
Classic Side Part Styles

The traditional side part sits 1-2 inches from center, combed smooth with pomade for boardroom-ready polish. Keep sides trimmed with a #2 guard (6mm) tapering to #1 (3mm) for contrast.
Modern variations include the hard part – a shaved line created with trimmers for bold definition. This works best with thick, straight hair and requires touch-ups every 2-3 weeks. Ask your barber for a surgical line using Andis T-outliner clippers.
Modern Textured Parts

Textured parts offer relaxed sophistication through intentional imperfection. Create your part loosely with fingers instead of a comb, using matte clay for piece-y separation. This style suits wavy or thick hair particularly well.
The disconnected part features an undercut with no blend between lengths. Top hair (3-4 inches) contrasts dramatically with buzzed sides (#1 or shorter). This edgy style makes thin hair appear fuller while showcasing natural texture.
Ready to Find Your Perfect Cut?
You’ve read about the styles. Now find the one that fits YOUR face shape, hair type, and lifestyle.
🎬 Side Part Swoop Ponytail | Hairstyles For Natural Hair
Best Part for Thinning or Receding Hair
Thinning hair changes the parting equation entirely. A deep side part can expose sparse areas along the part line, making thinning more visible rather than less. I tell clients with thinning crowns to shift their part toward where they have the most density — usually the opposite side from where hair is thinning fastest.
For receding hairlines, avoid parts that start at the temples. Instead, position your part 2–3 inches back from the hairline and use a slightly diagonal angle. This creates forward coverage while the swept direction adds the illusion of fullness where the hairline has retreated.
If your crown is thinning but your hairline is intact, a looser, finger-styled part works better than a razor-sharp comb line. Hard parts emphasize the scalp beneath thin hair, while textured, imprecise parts allow hair to overlap and create natural coverage without looking like a combover.
FAQs
Can I change my natural hair part direction permanently?
Yes, you can retrain your hair part within 3-4 weeks of consistent styling. Daily wet-setting and overnight training gradually redirect follicle growth angles. However, extremely strong cowlicks may always show slight resistance, requiring light product or blow-drying to maintain the new direction throughout the day.
Which part side makes hair look thicker?
Parting on your hair’s heavier side creates more volume and coverage. Most men have more density on their left side, making a left part ideal for fullness. Additionally, sweeping hair against its natural fall direction lifts roots, creating an illusion of thickness – particularly effective with mousse and blow-drying.
How do I keep my part straight throughout the day?
Lock in your part with proper morning technique: create the line in damp hair, apply medium-hold product directly along the part, then blow-dry on cool setting to set. Carry a pocket comb for quick touch-ups, and consider hairspray for humid conditions. Training your hair consistently reduces the need for heavy products over time.
Is it better to part hair on the left or right?
Neither side is objectively better. Research from the Society for Personality and Social Psychology found that left and right parts receive virtually identical perception ratings. The best side to part your hair is whichever follows your natural cowlick direction — clockwise cowlicks favor left parts, counter-clockwise favor right. Working with your natural growth pattern gives you better hold, easier styling, and a more natural look than forcing a direction based on trends.
Does your hair part affect how you look?
Your hair part placement significantly impacts your appearance, but not in the way internet theories suggest. What matters is how the part interacts with your face shape and natural growth patterns. A strategic side part can elongate a round face, soften angular features on a square face, or add width to a rectangular face. The direction (left vs. right) matters far less than the position (deep side, slight side, or center) and how well it works with your cowlick.
Was this article helpful?

Khamis Maiouf is a professional barber who graduated from Hinckley College in England with a Level 3 qualification in hairdressing. With over 20 years of experience, he is an award-winning barber who has mentored numerous students and styled thousands of clients. A recognised expert featured on StyleCraze (20M+ readers).
Credentials: Level 3 Hairdressing (Hinckley College, UK) • 20+ Years Professional Experience • Featured Expert on StyleCraze • Founder of Book of Barbering