

Every week, at least one client sits down in my chair and asks: “How hard is it to do a fade at home?” After two decades behind the clippers, I can tell you it’s absolutely doable — but only if you nail three fundamentals. This guide walks you through each one, from your first guideline to the final blend.
Key Takeaways
- Start with a guideline at your chosen fade height, then work through guards from shortest to longest with half-inch overlaps between each size.
- The flicking motion — rocking your wrist outward as you move up — is the core blending technique that creates a seamless transition between lengths.
- Use clipper-over-comb for problem areas around the ears and neckline where guards can’t reach effectively.
- Adjust your approach for hair type: thick hair needs more passes, thin hair shows every imperfection, and curly hair fades best with slightly longer guards.
- Fades need touch-ups every 2–3 weeks to maintain their fresh look, with high skin fades showing growth the fastest.
What You’ll Need
Creating a professional fade requires specific tools beyond just any electric clipper.
Your primary clipper should have a powerful motor and adjustable lever for fine-tuning between guard lengths. Quality options include the Wahl Magic Clip, Andis Master, or BaByliss FX870. You’ll need guards from #1 (1/8 inch or 3mm) through #8 (1 inch or 25mm), though most fades use #1 through #4.
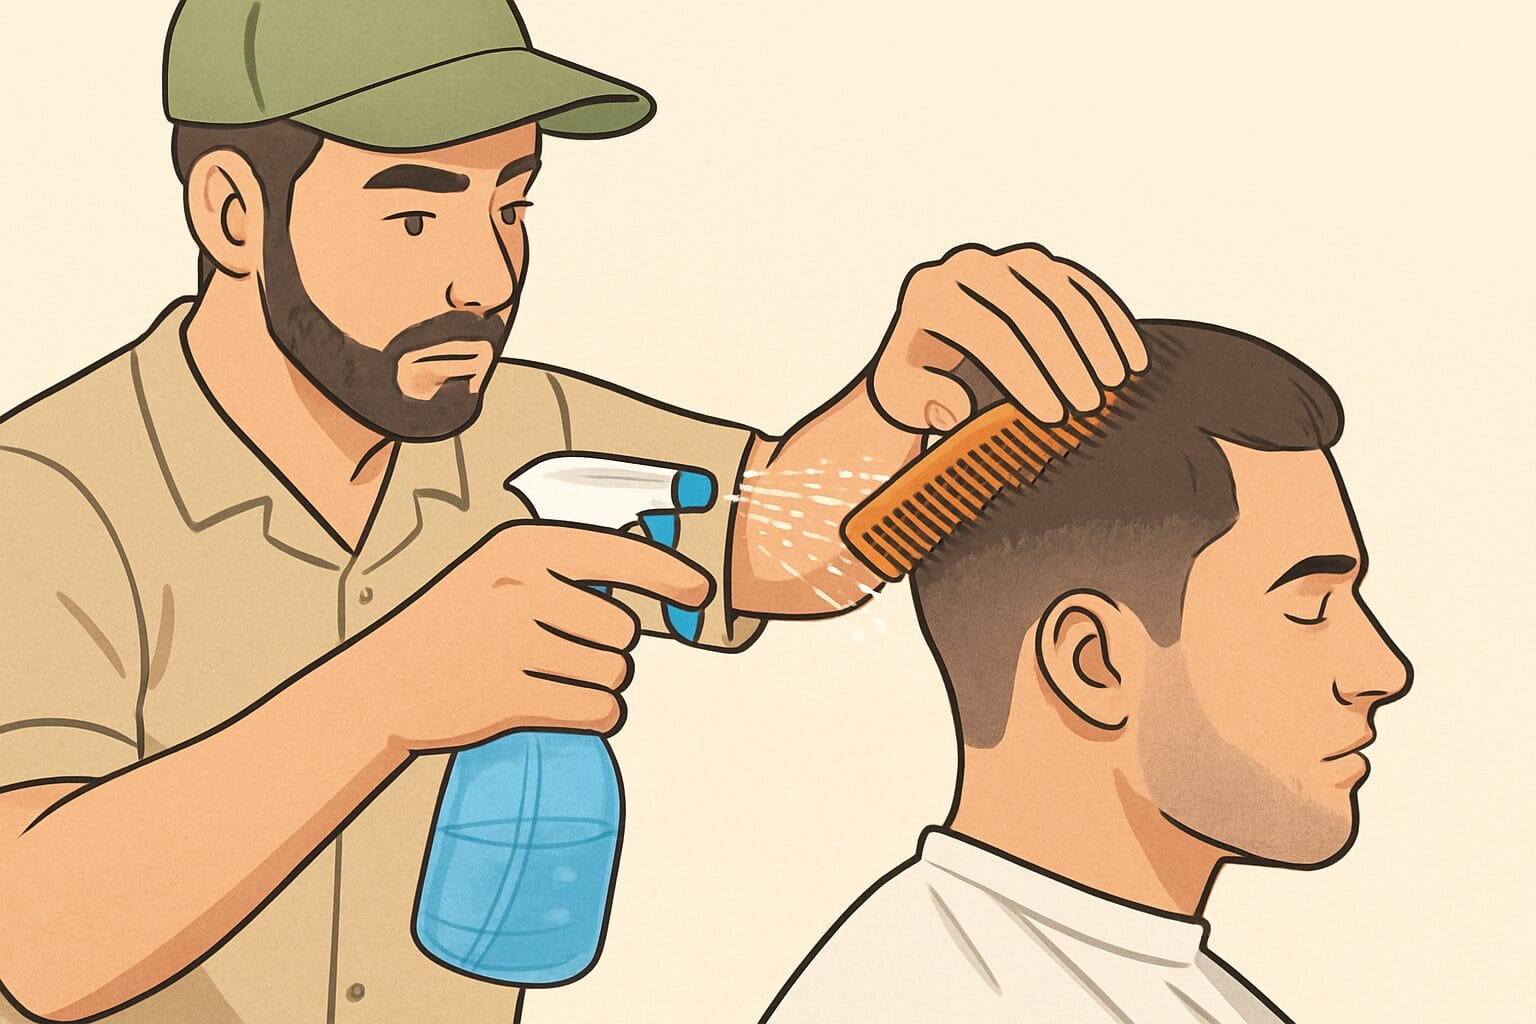
Essential blending tools include a fade brush for removing loose hair, clipper oil for smooth operation, and a spray bottle for damp cutting when needed. A handheld mirror helps check your work from multiple angles, while proper lighting ensures you can see every transition clearly.
Having these tools ready before starting ensures a smoother cutting process.
Preparation Steps
Proper preparation sets the foundation for a successful fade.
Start by setting up your workspace with good overhead lighting and easy access to all tools. Position your chair at a comfortable height where you can move freely around all angles.
Clean and oil your clippers, ensuring the blades are sharp and aligned correctly. Test the lever movement to confirm smooth operation.
Prepare your client (or yourself if self-cutting) by washing and completely drying the hair. Wet hair appears longer and can lead to cutting too much.
Drape properly to keep hair off clothes and skin. Discuss the desired fade height—low fades start near the ears, mid fades begin at temple level, and high fades start above the temples.
With preparation complete, you’re ready to begin the actual cutting process.
Step-by-Step Fade Process

The fade process follows a systematic approach from establishing guidelines to final blending.
Each step builds upon the previous one, so taking your time ensures better results. Most professional fades take 20-30 minutes for experienced barbers, though beginners should expect 45-60 minutes. The key is maintaining consistent pressure and speed throughout each pass.
Step 1: Create Your Guideline

The guideline determines your fade’s starting point and overall shape. Use your shortest guard or bare blade to create a line around the head at your chosen fade height. This line should follow the natural head shape, staying parallel to the floor.
Mark this initial line lightly without removing too much hair at once. You can always go shorter, but you can’t add hair back. Work from one temple, around the back, to the other temple in one continuous motion.
Step 2: Remove Bulk with Guards

Systematic guard progression creates the fade’s foundation. Start with your shortest length at the bottom, typically bare blade or #1 guard (3mm). Work up to your guideline using upward strokes against the grain.
Switch to the next guard size up, overlapping your previous section by about half an inch. Continue this pattern with each progressive guard—#2 (6mm), #3 (10mm), #4 (13mm)—until you reach your desired top length. Each guard should blend slightly into the previous one.
Step 3: Perfect Your Blend

Blending eliminates visible lines between guard lengths using specialized techniques. The flicking motion involves rocking your wrist outward as you move up, gradually lifting the clipper away from the head. This creates a natural taper between lengths.
Focus on any harsh lines by using a rocking motion—tilting the clipper at different angles while moving through the transition area. Open and close the lever slightly to find the perfect cutting length between guards. Work in small sections, constantly checking your progress.
Advanced Blending Techniques

Professional barbers employ specialized techniques for superior blends.
These methods require more practice but deliver exceptional results. The key is understanding when each technique works best. Clipper-over-comb excels in areas where guards can’t reach effectively, while detailing with corners creates ultra-precise lines.
The Clipper-Over-Comb Method

This technique offers ultimate control for blending difficult areas, especially around the ears and neckline. Position your comb at the desired angle and run the clipper over it, cutting only hair that extends past the comb teeth.
Work in small sections, constantly moving the comb to maintain consistent length. This method works particularly well for connecting shorter areas to longer lengths where guards might leave lines. Practice the motion without cutting first to develop muscle memory.
💡 Pro Tip
Use the corner of your clipper blade for the tightest blends around the temples and behind the ears. By angling the clipper at 45 degrees and using just the edge, you can remove individual hairs that create shadows or lines.
This technique, called “corner work,” gives you surgical precision in problem areas. I’ve found this especially useful when blending skin fades where even tiny imperfections show.
Finishing Touches

The final details transform a good fade into a great one.
These last steps require patience and attention to detail. Many barbers rush through finishing, but spending an extra 5-10 minutes here makes all the difference. Check your work under different lighting angles to spot any imperfections.
Detail Work and Line-Ups

Creating crisp edges frames the entire haircut. Use your trimmer to define the hairline, starting at the temples and working around to the nape. Keep the trimmer flat against the skin for the sharpest lines.
Not sure what your face shape is? Our Face Shape Detector figures it out in 4 quick questions.
For natural-looking edges, slightly round the corners rather than creating harsh 90-degree angles. Clean up the areas around the ears, removing any stray hairs. The back neckline can be squared, rounded, or tapered depending on preference and natural growth patterns.
Final Check and Adjustments

Systematic inspection ensures even fading from every angle. Use your handheld mirror to check the back and sides while rotating the chair. Look for any dark spots indicating unblended areas or light patches showing over-cutting.
Run your hand over the fade feeling for ridges or lines your eyes might miss. Make minor adjustments using the clipper-over-comb technique or by slightly adjusting your lever position. The fade should feel as smooth as it looks.
Fading Different Hair Types
Not every head of hair fades the same way. After cutting thousands of fades on every texture imaginable, the biggest variable isn’t the clipper — it’s the hair type sitting in front of you.
Thick, coarse hair requires more passes per guard level and benefits from using the lever in half-open positions. The density means lines hide easier, but blending takes longer because each pass removes less relative volume.
Fine, thin hair shows every imperfection. Use a lighter touch and fewer guard changes — jumping from a #1 to a #3 can work where thick hair needs #1, #1.5, #2, #2.5, #3. Check your work frequently because over-cutting is harder to disguise.
Curly and textured hair actually fades beautifully once you understand the curl pattern. Cut against the grain on the sides and work with slightly longer guards than you’d use on straight hair — curls compress, so a #2 on curly hair looks shorter than a #2 on straight hair. The natural texture helps camouflage minor blend imperfections.
Common Mistakes to Avoid

Understanding common errors helps prevent frustrating results.
Most fade mistakes stem from rushing or skipping fundamental steps. Even experienced barbers occasionally create harsh lines or uneven blends when they lose focus. Learning to recognize these issues early allows for quick corrections before they become major problems.
⚠️ Common Mistake
Creating harsh lines by not overlapping guards is the most frequent fade error. When you don’t blend each guard into the previous one, visible demarcation lines appear.
Always overlap by at least half an inch, using a rocking motion to feather the transition. If you see a line, don’t try to fix it with the same guard—switch to a half-guard setting using your lever or use the clipper-over-comb method.
DIY Fade Tips: Cutting Your Own Hair
Fading your own hair is a different challenge entirely. The technique is the same, but you’re working blind on the back and sides.
Set up two mirrors — one behind you angled toward a wall mirror in front. Position them so you can see the back of your head clearly without craning your neck. Good lighting matters even more for self-fading than it does in a shop.
Start one guard length longer than your target everywhere. You can always go shorter on the next pass, but a mistake on yourself means waiting two weeks for it to grow back. Work in short, slow strokes and check your mirrors constantly.
Focus on the sides first where you can see directly, then move to the back using your mirror setup. The nape area is the trickiest — consider asking someone to clean up just the neckline if you’re not confident with the mirrors yet.
Maintenance Schedule

Understanding fade maintenance helps set realistic expectations for upkeep.
Fades require more frequent maintenance than traditional haircuts because the contrast between lengths becomes visible as hair grows. Most clients need touch-ups every 2-3 weeks to maintain that fresh-faded look. High skin fades show growth fastest, often needing attention within 10-14 days.
For those stretching between appointments, focus on maintaining the edges with a trimmer every week. This keeps the haircut looking intentional even as the fade grows out. Proper hair care between cuts, including regular brushing and moisturizing, helps the fade maintain its shape longer.
Consider your lifestyle and budget when choosing your fade height and style.
Ready to Find Your Perfect Cut?
You’ve read about the styles. Now find the one that fits YOUR face shape, hair type, and lifestyle.
🎬 Perfect Fade in 4 Minutes | How to Cut Men's Hair | Best Tutorial | Tip #2
FAQs
How long does it take to master fading hair?
Mastering basic fade techniques typically takes 3-6 months of consistent practice for beginners. Professional-level blending skills develop over 1-2 years with regular cutting.
Start with mid and low fades before attempting high skin fades. Practice on willing friends or mannequin heads, focusing on one technique at a time.
What’s the difference between low, mid, and high fades?
Low fades begin just above the ears, extending about an inch above the ear top. Mid fades start at temple level, roughly aligning with the eyebrow line when viewed from the side.
High fades begin 2-3 inches above the ears, sometimes reaching the upper temples. Each creates different visual effects—low fades appear conservative, while high fades look more dramatic.
Which clippers are best for creating perfect blends?
Professional barbers recommend adjustable-lever clippers like the Wahl Magic Clip or Andis Master for versatile blending. The BaByliss FX870 offers exceptional power for thick hair.
For beginners, the Wahl Color Pro provides good value with included guards. Invest in quality clippers with strong motors that maintain consistent speed through different hair densities.
Can you fade hair with just clippers?
Yes, you can achieve a solid fade using only clippers with an adjustable lever and a full set of guards. The lever lets you create half-guard lengths between standard sizes, which is essential for smooth blending. However, adding a pair of thinning shears and a trimmer for detail work around the edges will significantly improve your results.
What guard size do you start with for a fade?
For most fades, start with a #1 guard (3mm) at the bottom and work up through #2 (6mm), #3 (10mm), and #4 (13mm). Skin fades start with no guard — just the bare blade. The key is working gradually through each size rather than skipping guards, which creates visible lines. Your lever position between guard changes gives you the half-sizes needed for a seamless gradient.
Was this article helpful?

Khamis Maiouf is a professional barber who graduated from Hinckley College in England with a Level 3 qualification in hairdressing. With over 20 years of experience, he is an award-winning barber who has mentored numerous students and styled thousands of clients. A recognised expert featured on StyleCraze (20M+ readers).
Credentials: Level 3 Hairdressing (Hinckley College, UK) • 20+ Years Professional Experience • Featured Expert on StyleCraze • Founder of Book of Barbering