Your Go-to Guide on How to Avoid Shaving Nicks and Cuts
The ritual of shaving is as old as humanity itself. Through the ages, men and women have used a variety of tools and techniques to maintain a clean and smooth appearance.
However, even in the modern era, with the advent of advanced shaving tools and products, NICKS, and cuts remain an all too common part of the shaving experience.
These minor INJURIES can be annoying, and painful, and can even lead to skin infections if not properly treated.
Understanding how to avoid shaving nicks and cuts, therefore, is not just about maintaining an aesthetically pleasing look, but also about preserving the health and integrity of your skin.
This article will provide you with comprehensive information on how to minimize the risk of these skin injuries when shaving.
I will explore the different types of shaving tools, the role of preparation and aftercare, and the correct shaving techniques to use.
The goal is to ensure that you can achieve a smooth and close shave, without the unwanted side effects of nicks and cuts.
No longer will you have to fear the sting of aftershave or the sight of a speckled tissue. Instead, you can look forward to a safer, smoother, and more comfortable shave every time.

Choosing the Right Tools To Avoid Shaving Nicks And Cuts
Safety Razor
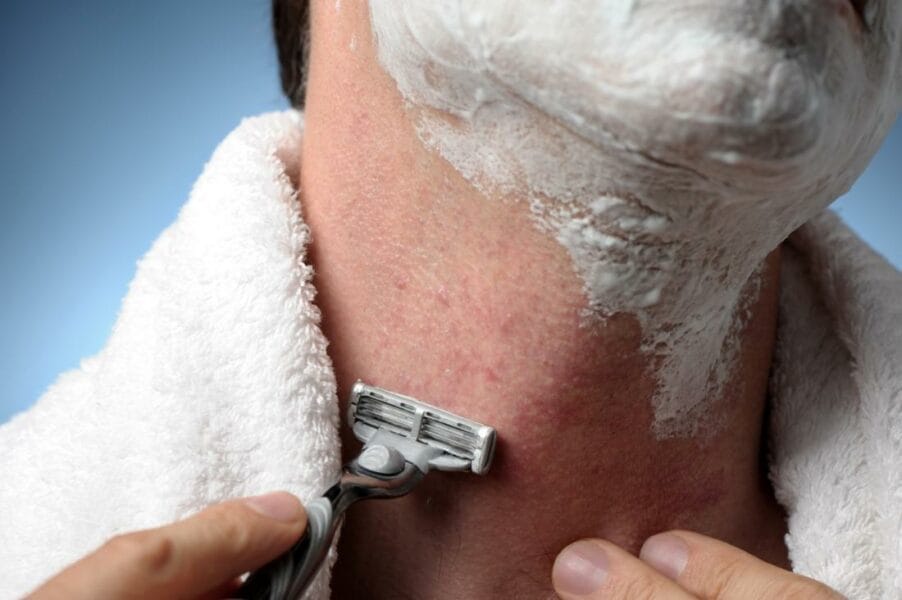
Mastering the art of using a safety RAZOR is one of my secrets to avoiding shaving nicks and cuts.
A safety razor offers better control and a cleaner, closer shave compared to disposable razors.
It’s built to protect your skin while providing a precise shave.
Many of my clients initially express their fear about using such a tool, but after I’ve guided them through the process, they often find it transformative.
Shaving Brush
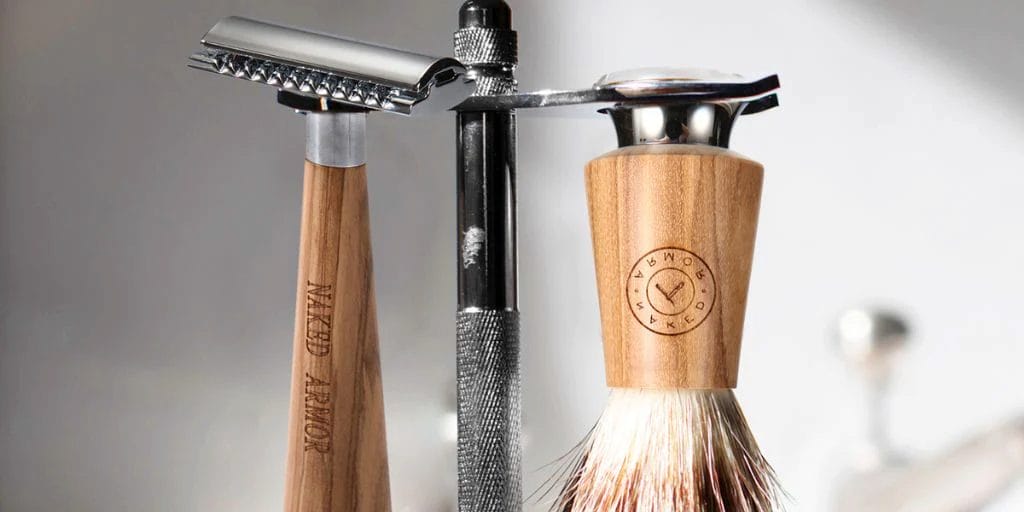
A quality shaving brush is another tool I highly recommend. It does wonders in preparing your skin and facial hair for a shave.
Lathering up with a shaving brush lifts the hairs, making them easier to cut and reducing the risk of razor bumps and cuts.
It also naturally exfoliates the skin, removing dead cells and reducing the chances of your razor getting caught and causing a nick.
Pre-Shave Oil
Before I even touch the razor, I always apply pre-shave oil. It’s a game-changer, providing an additional protective layer between your skin and the blade.
By reducing friction and increasing glide, pre-shave oil ensures a smooth, nick-free shave. It’s a product that’s worth investing in if you want to avoid shaving nicks and cuts effectively.

Shaving Cream
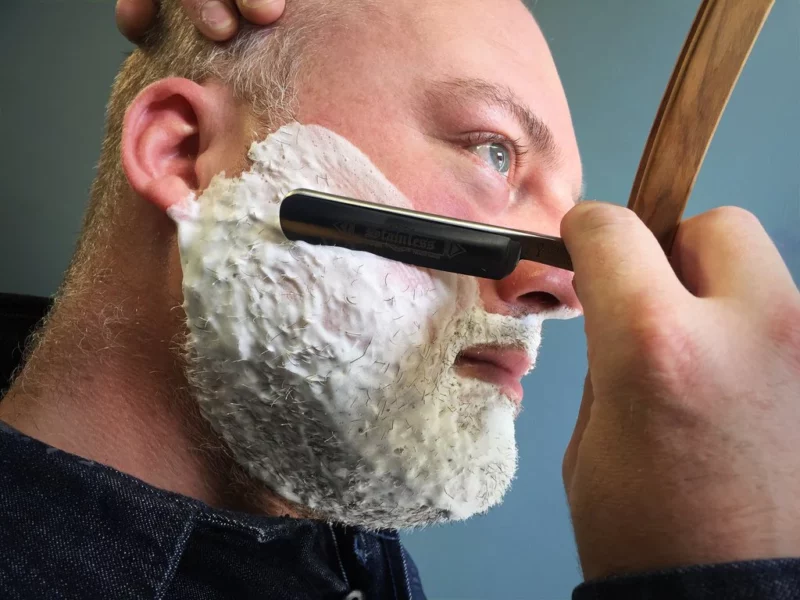
In my professional kit, you’ll always find good quality shaving cream. It softens the hair and allows the blade to glide smoothly over the skin, reducing the likelihood of cuts.
It’s not just about the act of shaving, it’s about preparing your skin so that it’s not under unnecessary stress, which can lead to nicks and cuts.
Aftershave Balm
Don’t underestimate the importance of post-shave care.
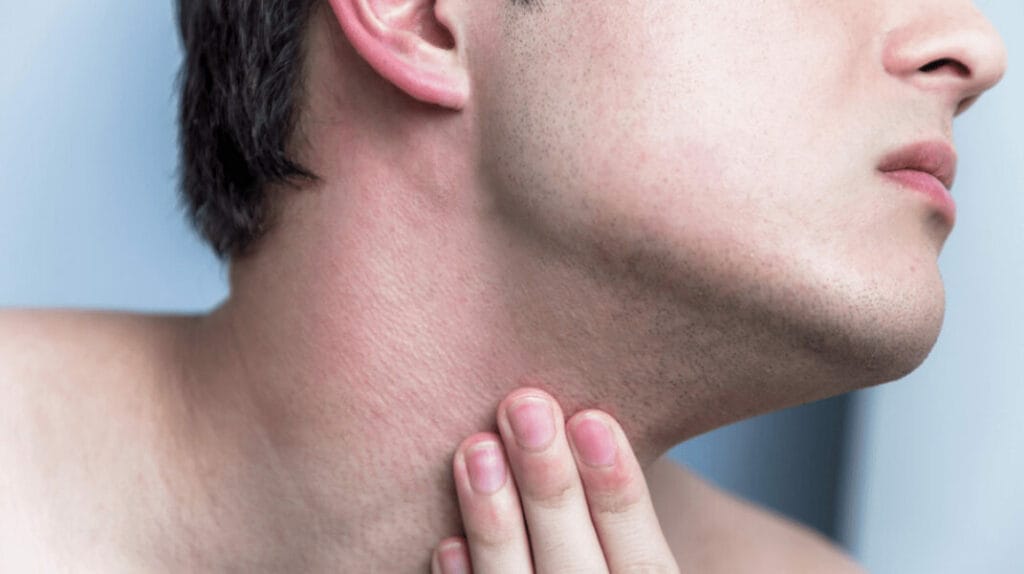
An aftershave balm is not just for show – it soothes and hydrates the skin after the shave, reducing irritation and the potential for any delayed onset of cuts or razor burn.
Opt for an aftershave balm with natural, soothing ingredients to keep your skin in the best condition possible.
Alum Block
An alum block is another gem in my shaving toolkit.
This astringent stone is excellent for sealing minor nicks and cuts, it’s a natural antiseptic that soothes the skin post-shave.
While the goal is to avoid shaving nicks and cuts, if they do occur, an alum block is an invaluable tool for immediate care.
Sharp Razor Blades
I can’t stress enough the importance of using sharp razor blades. Dull blades can pull and tug on the hair, causing irritation and increasing the chances of cuts.
Ensure that you replace your blades regularly. It’s a simple step, but it makes a significant difference in achieving a clean, cut-free shave.

Non-Alcoholic Toner
To avoid shaving nicks and cuts, I always use a non-alcoholic toner after shaving.
Alcohol-based toners can dry out your skin, leading to increased irritation and potential cuts in the future.
A good quality non-alcoholic toner will soothe and hydrate your skin, keeping it healthy and ready for the next shave.

High-Quality Shaving Mirror
A high-quality shaving mirror is a tool often overlooked, yet it is instrumental in avoiding nicks and cuts.
It provides a clear, close view of your face, allowing you to carefully navigate the contours and angles, ensuring a precise and safe shave.
I always make sure I have the best lighting and a clear mirror when I’m shaving my clients.
Styptic Pencil
Every professional hairstylist should have a styptic pencil on hand. This is a specialized tool used to stop bleeding from minor cuts or nicks.
It’s a safety net, so to speak, for those rare instances when a nick or cut does happen. By quickly sealing the WOUND, a styptic pencil helps to prevent infection and accelerates the healing process.
It’s a last-resort tool, but an essential one in ensuring the overall comfort and safety of the shaving process.
Safe Shaving Process To Avoid Nick And Cuts
1. Prepping the skin with a warm water rinse
As a professional hairstylist, I always advise my clients to start by rinsing their SKIN with warm water.
It helps open up the pores and softens the hair, making it easier to shave and reducing the chances of getting nicks and cuts.
When I prepare my clients for a shave, I often use a warm, damp towel to gently cleanse the area before applying any SHAVING products. This step is crucial in learning how to avoid shaving nicks and cuts.

2. Applying a high-quality shaving cream or gel
The next step I emphasize is the importance of using high-quality shaving cream or gel.
his provides a protective layer between the skin and the razor, allowing for a smoother glide and reducing irritation.
As a professional, I often recommend products with natural ingredients and moisturizers to help soothe the skin during the shaving process.
Remember, investing in a good shaving cream or gel is essential in preventing nicks and cuts.
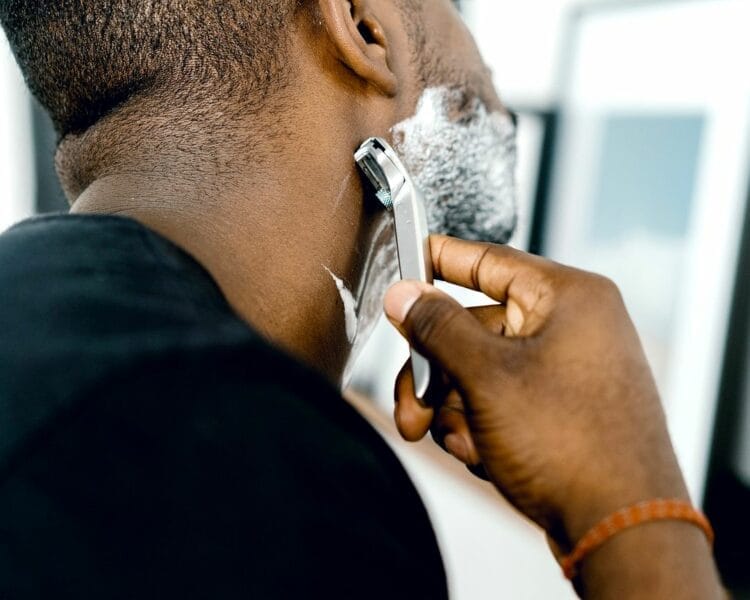
3. Using a sharp, clean razor blade
One common mistake people make is using a dull or dirty razor blade. As a hairstylist, I cannot stress enough the importance of keeping your razor sharp and clean.
A sharp blade ensures a precise and even shave, while a clean razor prevents any bacteria from entering cuts or nicks.
To avoid shaving nicks and cuts, I advise my clients to change their blades regularly and clean them thoroughly after each use.
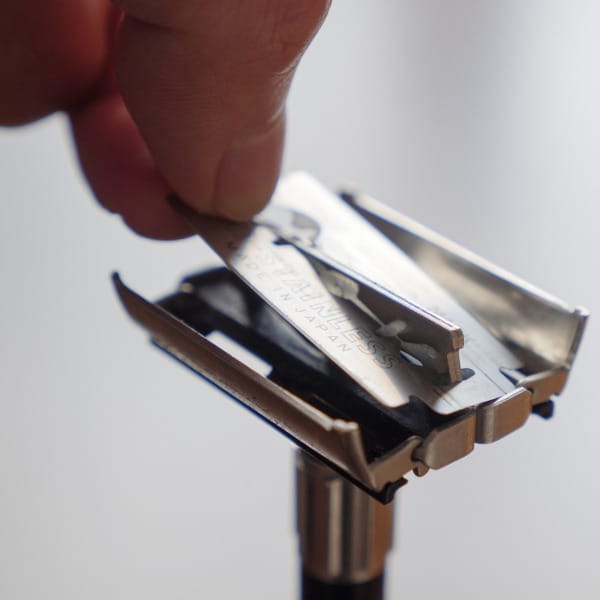
4. Shaving in the direction of hair growth
When it comes to shaving techniques, I always instruct my clients to shave in the direction of their hair growth.
This reduces the chances of tugging or pulling on the hair, which can lead to irritation, nicks, and cuts.
Additionally, shaving with grain also helps prevent ingrown hairs, a common issue many people face after shaving.
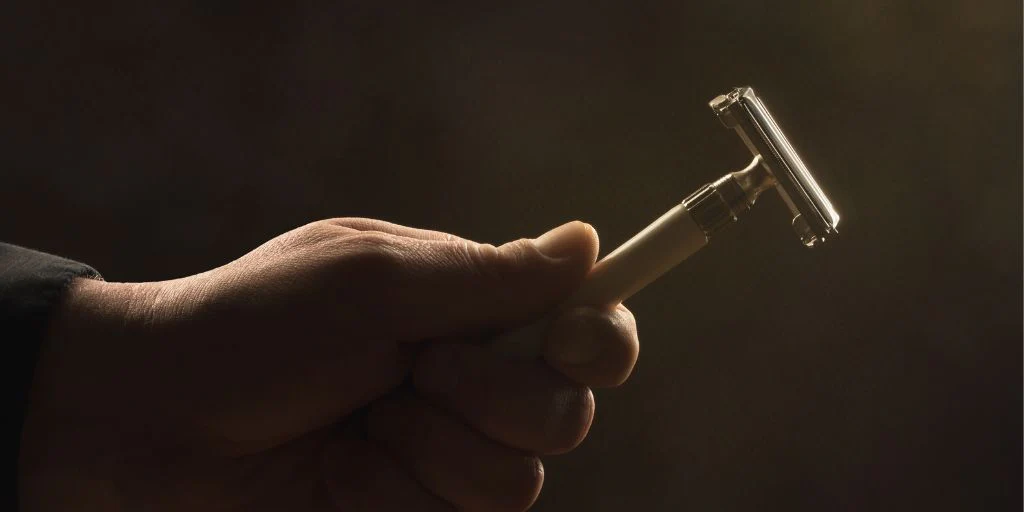
5. Avoiding excessive pressure on the razor
Applying too much pressure to the razor is another common mistake people make when shaving. I’ve seen firsthand how excessive pressure can lead to nicks, cuts, and skin irritation.
I always recommend my clients let the razor do the work, using gentle strokes and minimal pressure to achieve a close and comfortable shave.

6. Rinsing the blade after each stroke
Rinsing the blade after each stroke is an essential habit to develop when learning how to avoid shaving nicks and cuts.
This prevents hair and shaving cream buildup on the blade, allowing for a smoother glide and reducing the likelihood of cuts.
As a hairstylist, I always make sure to clean the razor thoroughly after each pass, ensuring the best possible shave for my clients.
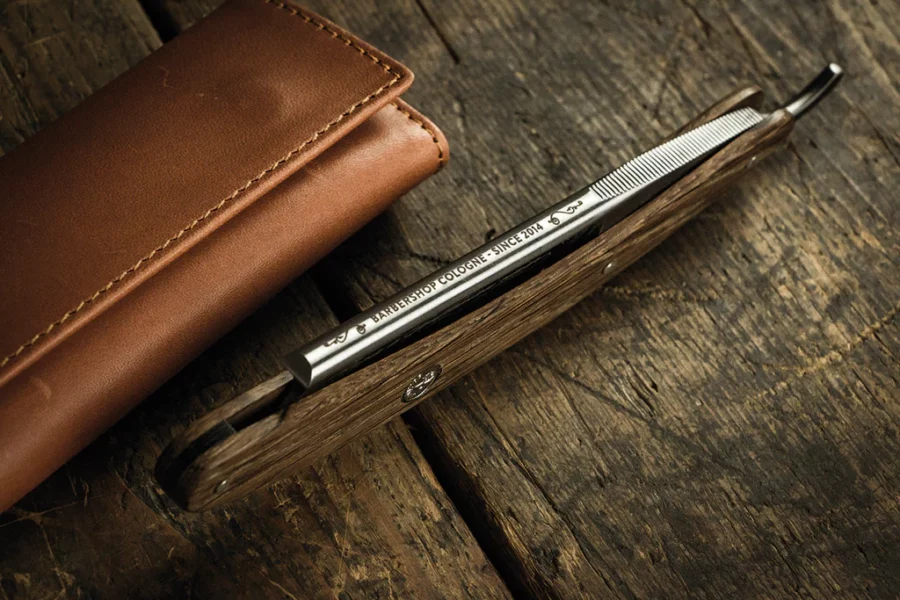
7. Applying an after-shave product to soothe and protect the skin
I always recommend my clients apply an after-shave product to soothe and protect their skin.
These products are designed to calm irritation, reduce redness, and help prevent any potential infections from nicks and cuts.
Some after-shave products also contain natural ingredients like aloe vera or chamomile, which can provide additional soothing benefits.

8. The Role of Experience and Practice
Experience and practice play a significant role in avoiding nicks and cuts during shaving.
When I first started my career as a hairstylist, I had to learn how to handle the tools correctly and understand the individual skin types and facial structures of my clients.
Over time, I’ve developed my own tricks and techniques that have significantly reduced the occurrence of shaving nicks and cuts.
It’s a continual learning process that involves both skills and the right tools.

9. Understanding Your Skin and Hair
Every person’s skin and hair are unique. What works for one might not work for another. I’ve worked with various skin types and hair textures, and I’ve learned to adapt my tools and techniques accordingly.
For instance, someone with coarse facial hair may require a different approach than someone with fine, thin hair.
Understanding your skin’s sensitivity and your hair’s texture can go a long way in choosing the right products and tools, ultimately helping you avoid those pesky shaving nicks and cuts.
10. Regular Maintenance and Care
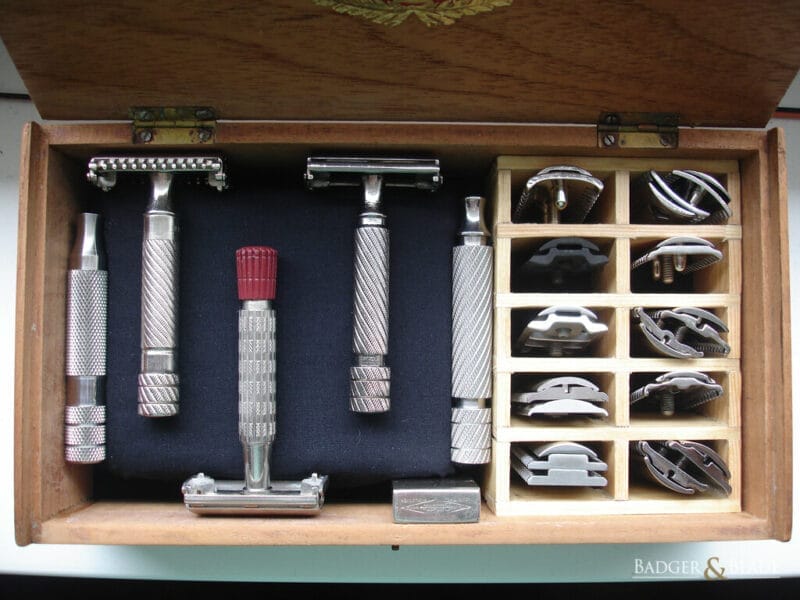
Regular MAINTENANCE and care of your shaving tools are as important as the shaving process itself.
Ensuring your safety razors are clean and your blades are sharp can drastically decrease the chances of CUTS.
I also regularly clean and dry my shaving brush to prevent any bacterial buildup. It’s these small steps that contribute to a safer and more effective shave.
Conclusion
To sum it up, avoiding shaving nicks and cuts is about more than just a careful shaving TECHNIQUE.
It’s about the tools you use before, during, and after the shave, and how you take care of your skin.
As a professional hairstylist, I’ve found that using these tools and following these practices makes a world of difference in achieving a smooth, comfortable shave.
FAQS
How do you prevent nicks and cuts when shaving?
As a professional hairstylist, I can’t emphasize enough the importance of proper preparation and technique when shaving to avoid nicks and cuts.
Firstly, always ensure your skin is well-hydrated before you begin. Shaving after a hot shower can be beneficial as the steam helps to soften the hair and open up the pores.
Secondly, invest in a good quality razor. It might seem like a small detail, but trust me, a dull or cheap razor can lead to more nicks and cuts.
Thirdly, don’t rush. Take your time to carefully glide the razor over your skin without applying too much pressure.
Lastly, always shave in the direction of hair growth. Going against the grain can cause irritation, nicks, and cuts.
Why do I always get nicked when shaving?
Getting nicked during shaving could be a result of a few factors. It might be that your blade is dull, or your technique needs some refinement.
Also, if you’re not using a lubricant like shaving cream or gel, you’re more likely to get cuts. From my experience, I find that many people neglect the importance of skin preparation.
Always ensure that your skin is clean and adequately moisturized before you start. This step helps the blade glide more smoothly across your skin, significantly reducing the risk of nicks and cuts.
Does Vaseline stop shaving cuts?
Vaseline, or petroleum jelly, can help in the treatment of minor shaving cuts, but it isn’t designed to prevent them.
In the event of a nick or cut, applying a small amount of Vaseline can help to seal the wound and promote healing.
Its occlusive properties also prevent the cut from drying out. However, using Vaseline as a pre-shave product is not advisable.
It can clog your pores and make it difficult for the razor to glide smoothly, leading to potential nicks and cuts. Instead, opt for a proper shaving cream or gel.
Does shaving cream prevent nicks?
Yes, indeed, shaving cream plays a crucial role in preventing nicks and cuts.
It works by creating a thin layer of protection between the blade and your skin, allowing the razor to glide smoothly without tugging or pulling at the hair.
In addition, the moisturizing properties of shaving cream can soften the hair and hydrate the skin, making it less prone to cuts.
In my years of experience as a hairstylist, I’ve found that individuals who use a good quality shaving cream generally experience fewer shaving nicks and cuts.
How long do shaving nicks last?
The duration of a shaving nick’s healing process can vary depending on its severity and how well it’s cared for.
Typically, a minor shaving nick may clot and stop bleeding within a few minutes and should heal completely within 2-3 days.
For deeper cuts, it could take a week or more. To expedite the healing process, clean the area with warm water, apply an antiseptic if available, and then seal with a styptic pencil or a dab of petroleum jelly.
If the cut is deep, painful, or doesn’t stop bleeding, you should seek medical attention. Remember, the best way to deal with shaving nicks and cuts is to prevent them in the first place.
References:
Shaving is the removal of hair, by using a razor or any other kind of bladed implement, to slice it down—to the level of the skin or otherwise. source
If you’ve ever shaved (which is pretty much everyone), chances are you’ve gotten a few nicks and cuts on your skin. source
Khamis Maiouf is a professional barber who graduated from Hinckley College in England with a degree in hairdressing. He has also won several barbering contests and successfully operated a barbershop for the last two decades. As a skilled hair stylist for 20 years, his goal is to teach others how to achieve a beautiful appearance through their hairstyles.
