

Most men have no idea their facial hair grows in completely different directions across their face—and that’s exactly why they keep getting razor burn. After mapping thousands of clients’ grain patterns over 20+ years in the chair, I can tell you this one step transforms a painful shave into a smooth one. Here’s how to map your facial hair grain so you can finally shave with your natural growth pattern, not against it.
Key Takeaways
- Your facial hair grows in multiple directions—mapping them is the key to preventing razor burn and ingrown hairs
- Allow 2-3 days of stubble growth before mapping for the most accurate direction readings
- Use the finger test, card test, or cotton ball test to identify grain direction in each facial zone
- Always shave your first pass with the grain, then cross-grain for closeness
- Re-map every six months, or whenever new irritation spots develop
Understanding Facial Hair Grain Patterns
Your facial hair grain refers to the direction your whiskers naturally grow from the follicle.
Unlike the hair on your head, facial hair rarely grows in one uniform direction. Most men have multiple grain patterns across their face, with common areas including straight down on the cheeks, sideways on the jawline, and upward on the neck. These patterns are as unique as fingerprints and can include swirls, whorls, and directional changes within a single zone.
Understanding your grain isn’t just about comfort—it’s about preventing ingrown hairs, reducing irritation, and achieving a closer shave. When you shave against the grain without knowing it, you’re essentially lifting and cutting the hair below skin level, leading to those painful red bumps and razor burn that plague so many men.
Let’s gather the right tools to map your unique pattern accurately.
Tools and Preparation

Mapping your facial hair grain requires minimal equipment but the right setup makes all the difference.
You’ll need a handheld mirror (preferably magnifying), good lighting, a white eyeliner pencil or washable marker, and a piece of paper for documentation. The mirror should be at least 5 inches in diameter for proper visibility. A smartphone camera can also help capture angles you can’t see directly, particularly around the jawline and neck area.
The white pencil serves as your mapping tool, allowing you to mark grain directions directly on your skin without irritation. Choose a cosmetic pencil over a marker as it’s gentler on facial skin and washes off easily. Keep a towel handy for corrections and have your regular shaving cream available for the texture test we’ll perform later.
With tools ready, let’s prepare your facial hair for accurate mapping.
Pre-Mapping Routine

Growing Out Period

The ideal stubble length for grain mapping is 2-3 days of growth, roughly 1-2mm in length. This provides enough hair to see and feel the direction without obscuring your skin’s surface.
If you normally shave daily, plan your mapping session for a weekend when you can let your facial hair grow undisturbed. Hair that’s too short won’t show direction clearly, while anything longer than 3mm can lay flat and give false readings about the actual growth pattern.
Lighting Setup
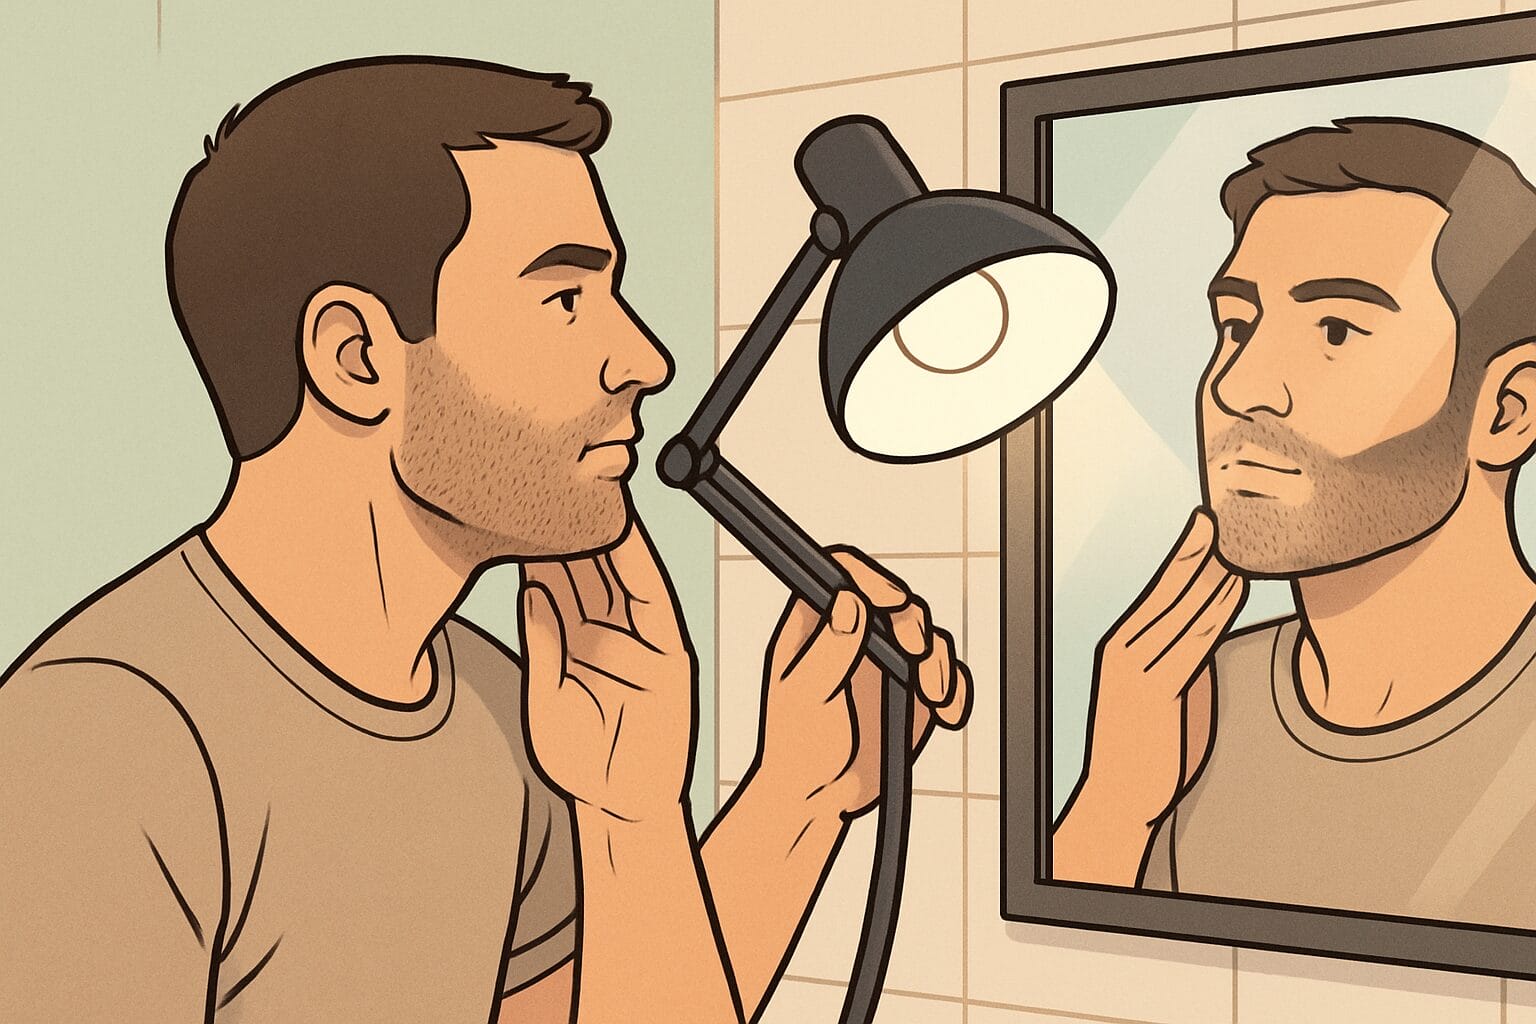
Natural daylight provides the best visibility for grain detection, so position yourself near a window if possible. Avoid overhead lighting which creates shadows that can obscure grain patterns, especially under the jawline.
If using artificial light, place a bright LED lamp at face level about 2 feet away. The light should illuminate your face evenly from the front. Consider using your phone’s flashlight as a supplementary light source to check difficult areas like below the ears and along the neck.
The Mapping Process

Step 1: Identify Direction Zones
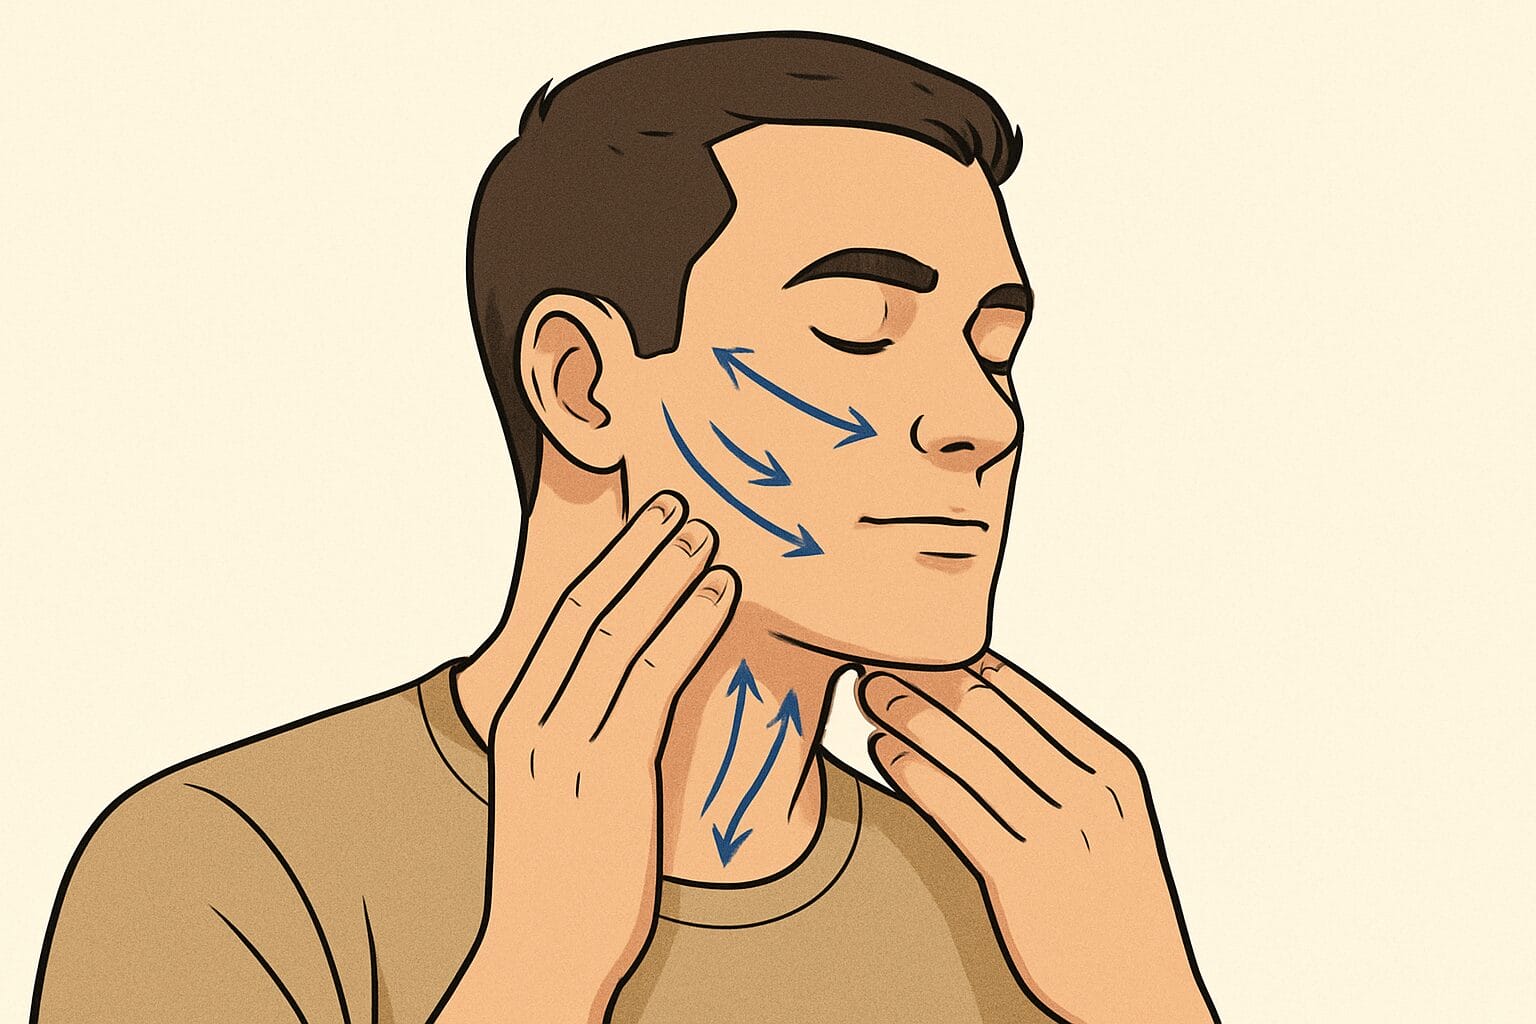
Divide your face into six main zones: left cheek, right cheek, mustache area, chin, left neck, and right neck. Run your fingers gently across each zone, feeling for the smooth direction versus the rough, against-grain resistance.
Start with your cheeks as they typically have the most consistent pattern. Move your fingertips in small circles to feel which direction offers least resistance.
The smooth direction indicates with-grain, while roughness means you’re going against it. Mark each zone’s primary direction with your white pencil using small arrows.
Alternative Testing Methods
If your fingers aren’t giving you a clear answer—especially on the neck—try the card test. Slide a credit card or business card lightly across each zone. When it glides smoothly, that’s with the grain. When it catches or chatters against the stubble, you’re going against it.
The cotton ball test is another method I rely on in the shop for clients who struggle with the finger technique. Drag a cotton ball gently across your stubble—if it snags and pulls apart, you’re moving against the grain. If it slides cleanly, that’s your with-grain direction. The visual feedback makes tricky areas like below the ears immediately clear.
Step 2: Document Your Pattern
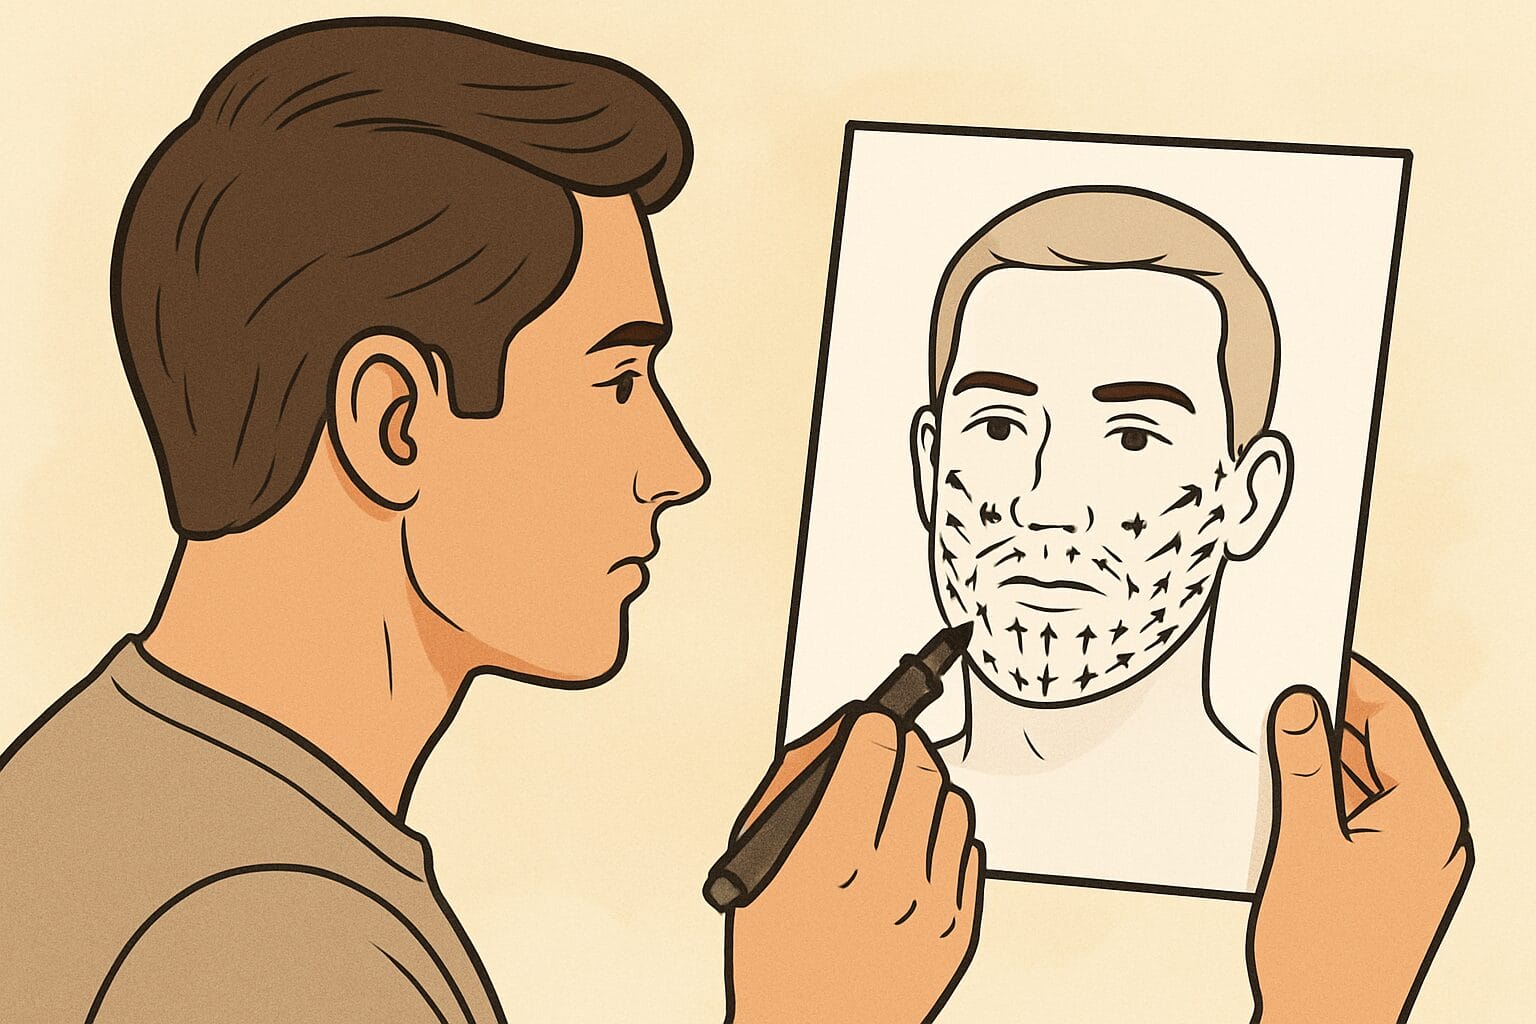
Transfer your findings to paper by drawing a simple face outline and marking the grain directions with arrows. Use different colors or line styles to indicate strength of growth—thick lines for coarse areas, thin for fine hair.
Take photos of your marked face from multiple angles for future reference. Many men find their neck grain grows in opposite directions on each side, or that they have a swirl pattern near the Adam’s apple. These details are crucial for your personalized shaving strategy.
Step 3: Mark Problem Areas

Identify spots where grain changes direction abruptly, typically found along the jawline, around the Adam’s apple, and below the ears. Circle these transition zones on both your face and paper map.
These areas require special attention during shaving, often needing multiple passes from different angles. Common problem spots include the hollow below the jawbone where hair can grow in three different directions within a square inch. Note any cowlicks or swirl patterns that might need a specialized approach.
💡 Pro Tip
Use a white pencil to mark grain directions directly on your skin before important shaves. This visual guide helps you maintain proper razor angle in tricky areas.
Apply the marks after washing but before applying shaving cream. The technique is especially helpful when you’re training yourself to follow a new shaving pattern or dealing with particularly stubborn areas that always cause irritation.
Not sure what your face shape is? Our Face Shape Detector figures it out in 4 quick questions.
Applying Your Map for Perfect Shaves

First Pass Technique
Your initial pass should always follow the grain direction you’ve mapped, using short strokes of 1-2 inches. This reduces tugging and minimizes irritation while removing the bulk of your facial hair.
In areas where grain changes direction, lift the razor and reposition it rather than trying to curve your stroke. For example, if your cheek hair grows downward but your jaw hair grows backward, complete the cheek area first, then adjust your angle for the jaw. This methodical approach prevents accidental against-grain cutting.
Second Pass Strategy
The second pass should go across the grain at a 90-degree angle to your mapped direction. This technique, called cross-grain shaving, provides closeness without the irritation of against-grain shaving.
For areas with multiple grain directions, choose the path that crosses the majority of hairs perpendicularly. If you need extreme closeness for special occasions, a gentle third pass against the grain is possible, but only in areas where your map shows consistent growth patterns. Skip this in your documented problem zones.
Choosing the Right Razor for Your Grain
Your grain map should influence your razor choice. For areas with consistent, predictable growth, a straight razor delivers the closest results because you can angle the blade precisely for each zone. For sections with multiple directions or swirl patterns, a safety razor with a mild head is more forgiving.
If your map shows three or more transition zones on the neck, a single-blade safety razor reduces irritation compared to multi-blade cartridges. Cartridges make multiple cuts per stroke, multiplying the problem where direction changes rapidly. Pair a single blade with fresh blades and the three-pass technique above for the best results in problem areas.
Maintaining Your Grain Knowledge

Your facial hair grain pattern remains relatively stable, but subtle changes can occur over time.
Factors like aging, hormonal changes, and even significant weight loss can alter your grain pattern slightly. Review your map every six months, particularly if you notice new areas of irritation developing. Young men in their early twenties might see pattern changes as their facial hair fully matures, while men over forty might notice thinning that affects grain direction.
Keep your documented map in your bathroom or saved on your phone for reference. Update it whenever you notice a consistent problem area that wasn’t previously marked. Some barbers recommend seasonal checks since hair growth can vary slightly with testosterone fluctuations throughout the year.
⚠️ Common Mistake
Assuming grain never changes with age is a major error that leads to increasing shaving discomfort over time. Your facial hair grain can shift subtly as you age, particularly in areas where skin loses elasticity.
Men often develop new swirl patterns in their fifties that weren’t present in their thirties. Check your grain pattern annually after age forty, or whenever you notice persistent irritation in previously comfortable areas.
Find Your Perfect Beard Style
You’ve seen the options. Now find the one that actually suits YOUR face shape and growth pattern.
🎬 You've Been Shaving All Wrong! Learn How to Grain Map Your Face!
FAQs
How often should I remap my facial hair grain?
Perform a complete remapping every six months for optimal results. However, if you’re under twenty-five or over forty, check quarterly as these ages see more grain pattern changes. Any time you experience new irritation areas or your regular technique stops working effectively, it’s time for a fresh mapping session regardless of schedule.
Can facial hair grain direction change over time?
Yes, grain patterns can change due to aging, hormonal shifts, scarring, or significant weight changes. The changes are usually subtle—a slight angle shift rather than complete reversal. Most men see minor changes every few years, with more noticeable shifts during puberty, around age thirty, and after fifty when testosterone levels fluctuate.
What if my grain grows in multiple directions?
Multiple grain directions are completely normal and affect about 70% of men. Focus on mapping each micro-zone separately, even if they’re just an inch apart.
Shave these areas last when your shaving cream has had maximum time to soften the hair. Use shorter strokes and rinse your razor more frequently in multi-directional zones.
How do you know if you’re shaving with or against the grain?
Run your fingers across your stubble. If it feels smooth, you’re moving with the grain—the same direction your hair grows. If it feels rough and catches on your fingertips, you’re going against it. You can also try the card test: slide a credit card across the area. A smooth glide means with-grain, while resistance means against. Most men find the direction changes between their cheeks, jawline, and neck, so check each area separately.
Can you train facial hair to grow in a certain direction?
You can’t permanently change your hair follicle direction—that’s genetically set. However, consistent brushing or combing in a preferred direction can train longer beard hair to lay a certain way over time. For shaving purposes, mapping your natural grain and working with it is far more effective than trying to fight your genetics. Your grain pattern is unique, and the best shaves come from respecting it.
Was this article helpful?

Khamis Maiouf is a professional barber who graduated from Hinckley College in England with a Level 3 qualification in hairdressing. With over 20 years of experience, he is an award-winning barber who has mentored numerous students and styled thousands of clients. A recognised expert featured on StyleCraze (20M+ readers).
Credentials: Level 3 Hairdressing (Hinckley College, UK) • 20+ Years Professional Experience • Featured Expert on StyleCraze • Founder of Book of Barbering